Configuring Connections
Connections in Zoho IoT provide a secure and standardized way to integrate the Zoho IoT application with other applications, including other Zoho services and third-party services. They establish authenticated access, enabling the application to securely and reliably use the data and functionality offered by these applications or services.
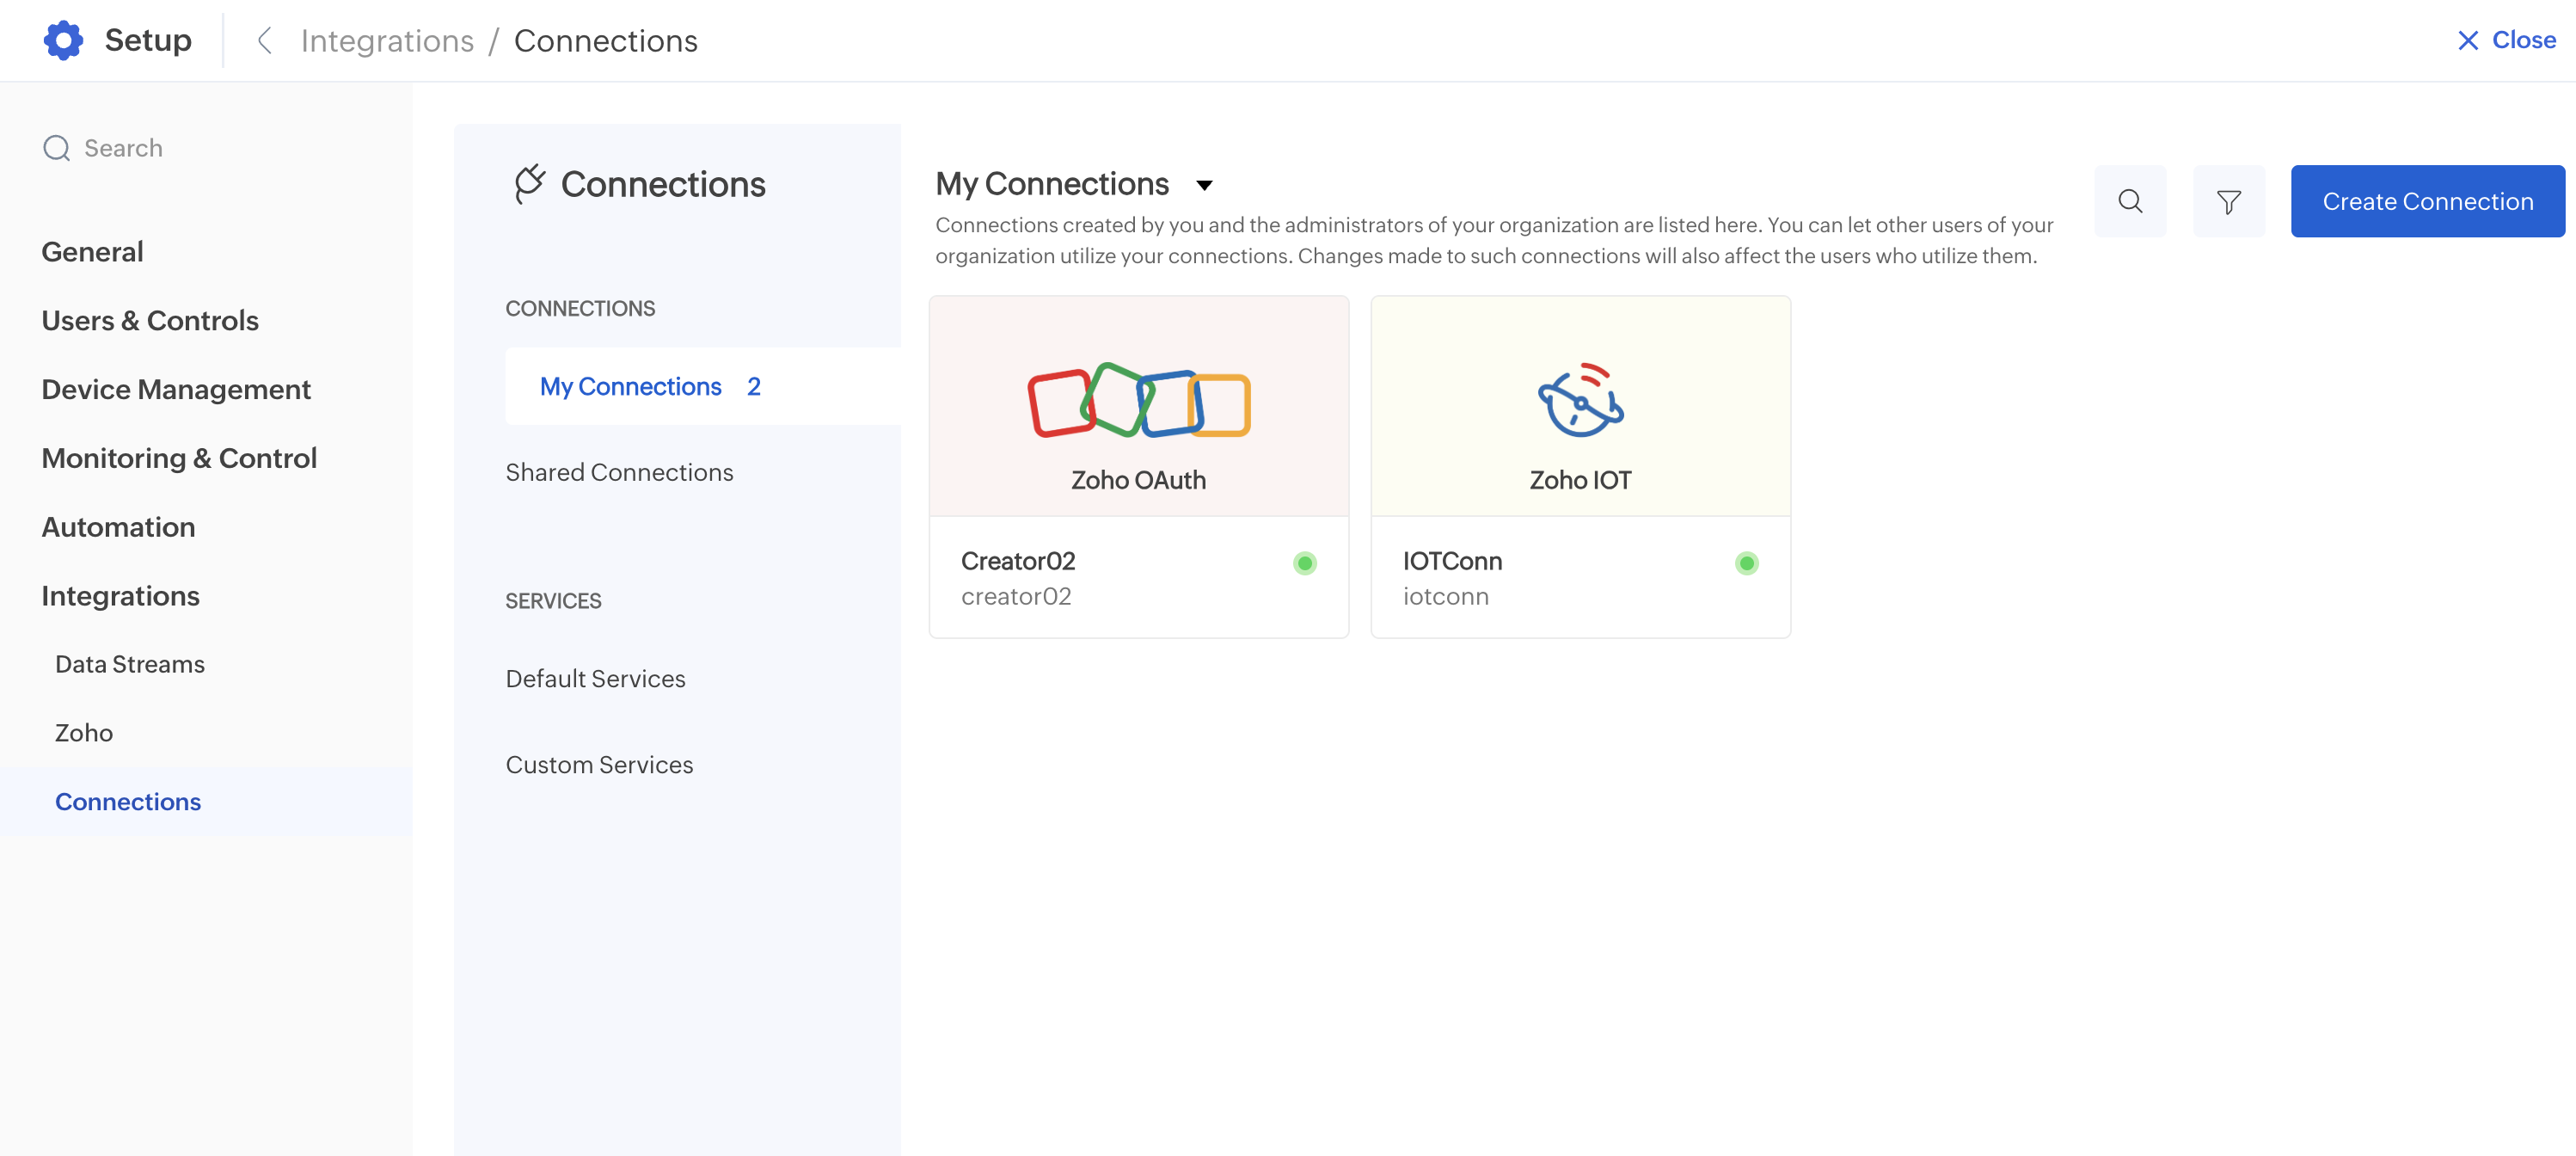
Image: Connections home page
Why use Connections?
Below are some key reasons to use connections:
- Simplifies secure authentication with Zoho and third-party services.
- Eliminates the need to manually handle OAuth tokens or credentials.
- Streamlines integrations across applications with minimal setup.
- Enables centralized credential management for better control and security.
- Allows seamless data transfer between Zoho IoT and external services without extra coding.
- Ensures compliance with Zoho’s authentication and security standards.
- Once created and connected, the same connection reference can be reused across multiple places in the Zoho IoT application to access Zoho or other service APIs.
Creating Connections
In Zoho IoT, the Connections component offers pre-configured connections for 50+ (Zoho and third-party) services in the form of Default Services using which you can easily create connections. If a default service is not available, you can also configure any other service using the Custom Services feature and create a connection.
Lets understand more about the two types of services using which we create connections: Default Services and Custom Services.
- Default Services
These are pre-configured services available in Zoho IoT. You can easily create a connection for any of the default services listed and authenticate it using your credentials.These default services are provided to simplify and speed up integration between Zoho IoT and other Zoho applications such as Creator, CRM, Books, Contacts, Mail, and others that organizations commonly use. Each of these pre-configured services includes the necessary OAuth scopes, endpoints, and authentication settings, so you don’t have to manually configure them.
- Custom Services
If the service you need is not listed by default, you can manually configure it. Once configured, you or other members of your organization can create multiple connections to that service as needed, simply by providing the required credentials.
Note: For existing default services, when certain scopes are not listed we can add connections for those scopes also via custom service like accessing time series data in Zoho IoT.
Now, let’s look at the step-by-step procedure in creating services:
Creating a Connection Using Default Services
To create a default service connection,
In this example, lets create a default service connection within Zoho IoT to enable communication between your Deluge scripts (in custom functions) and the Zoho IoT application. Using this connection, we will fetch the details from the Zoho IoT application.
In this example, lets create a default service connection within Zoho IoT to enable communication between your Deluge scripts (in custom functions) and the Zoho IoT application. Using this connection, we will fetch the details from the Zoho IoT application.
- Access the Developer Application.
- Select the Automate tab, and select Connections in the left pane. The available connections will be displayed.(or)
- Access the End Application. Click on the Setup icon.
- Click Connections under the INTEGRATIONS section. The available connections are displayed in the right.
Note: Connections created by the user and the administrator of the organization are listed here. You can let other users of the organization utilize your connections. Changes made to such connections will also affect the users who utilize them. - Click Create Connection button in the top right corner of the screen.
4. As we are creating a connection for Zoho IoT. Click Zoho OAuth service in the default services screen. All Zoho scopes are available under Zoho OAuth service.
If the OAuth service is not available under Default services, you can follow the steps provided in the Custom Service section and create a connection.
IMPORTANT: We are currently working on including Zoho IoT as a default service. Once available, you can directly choose Zoho IoT service. All Zoho IoT scopes will be available for selection in this service.5. Click Create Connection.6. Enter the connection name. The connection link name will be auto filled and displayed.
7. Set the Use Credentials of Login User toggle to ON.
Use credentials of login user: This allows other users to utilize the connection that you've created. If this switch is turned on, other users can authenticate your connection using their credentials and a copy of it will be listed under “Shared connections” in their connections page.
Consider the following scenarios to understand the "Use credential of login user" switch and shared connections:Example:Let's assume you want to create and publish a Zoho Cliq bot for everyone in the organization that will upload the files forwarded to it into the user’s Dropbox account. To achieve this integration, you must create a connection to Dropbox and use it in the invoke URL Deluge task. And while creating the connection, you must turn on the "user credential of login user" switch so that the users can authenticate your connection using their credentials. Hence, the files will be uploaded to the user’s Dropbox account. If the switch was not turned on, the connection will run using the credentials of the connection owner, and the files sent by all the users will be uploaded to your (connection owner’s) Dropbox account.In this example, the "Use credential of login user" switch should be turned on, and all the bot users will authenticate your Dropbox connection using their credentials. Therefore, a copy of your connection will be listed under "Shared Connections" in their connections page while it will be listed under “My Connections” in your connections page.


8. Select from the scopes available for the selected service. Scopes specify what level of access your application should have to that service.
9. Click Create and Connect to provide permission for this to access your account.10. Click Connect in the Service Name screen.Note: This screen will vary based on the selected service.
Note: When multiple applications exist in the portal, select the specific application you want to use for authenticating the connector.
11. In the case of multiple applications, select the Application for which you want to associate the newly created connection.12. Click Submit. The DRE IDC screen with the selected service and scope is displayed. This is required for providing access to data.
13. Click Accept in the Deluge access permission screen displayed below.Note: This connect screen will vary based on the selected service.
12. The resultant screen displaying the connection details appears. Refresh the page to view the connection status as Connected, along with the Revoke button next to the connection name.
Note: The Deluge and JSon sample code will be displayed in the respective tabs below the Connection Summary. The entries in the codes such as url, type, parameters, and connection can be used inside the Deluge Script (in custom function) to establish the connection.
Important: You need to provide your custom values for url, type, and parameter entries when writing your logic in the custom function.
Creating a Connection Using Custom Services
To create a custom service connection,
In this example, lets create a custom service connection within Zoho IoT to enable communication between your Deluge scripts (in custom functions) and the Zoho IoT application. Using this connection, we will fetch the details from the Zoho IoT application.
In this example, lets create a custom service connection within Zoho IoT to enable communication between your Deluge scripts (in custom functions) and the Zoho IoT application. Using this connection, we will fetch the details from the Zoho IoT application.
- Access the Developer Application.
- Select the Automate tab, and select Connections in the left pane. The available connections will be displayed.(or)
- Access the End Application. Click on the Setup icon.
- Click Connections under the INTEGRATIONS section. The available connections are displayed in the right.
Note: Connections created by the user and the administrator of the organization are listed here. You can let other users of the organization utilize your connections. Changes made to such connections will also affect the users who utilize them. - Click Create Connection button in the top right corner of the screen.
4. Select the Custom Services tab.
5. In the Custom Service tab, click Create New Service.
6. Provide the connection details as in the screenshot.
To know more about the fields including mandatory fields to be provided in this screen, refer to the Creating Custom Services document for the possible values.Note: The Oauth details such as Client ID and Client Secret can be obtained by registering the client.Note: The scope ZohoIOT.settings.cirrus.data.READ is provided in the above example as the connection is created to fetch data from the Zoho IoT application. You can configure any scope you require in the Scope and Scope Display Name textboxes.9. Click Create Service. Once the service is created, you can use the same to create the connection. The authentication details provided in this service will be used for the connections created using this service.10. Click Create Connection in the resultant screen.
Image: Custom Service screen
5. Provide the connection name and link name, and click Create and Connect.
Image: Connections configuration screen using Custom service6. Click Connect.Image: Connections Connect screen7. Once connected, the below screen will be displayed with the sample code.8. The entries from the highlighted code below is used in the custom function code.
Important: You need to provide your custom values for url, type, and parameter entries when writing your logic in the custom function.
Image: Sample Deluge code
Using Connections in Webhook & Custom Function
After creating a connection in the Zoho IoT application and activating it, you can use it in any Webhook action or Custom Function.
In Webhook:
You need to select the Authentication Type as Connections and choose the Connection to associate. Refer to the Creating Webhooks document to know how connections are used in webhooks.
In Custom Functions:
You can copy paste the deluge script in the Custom Function and modify as required. Refer to the Custom Functions document for more details.
Editing Connections
Any connection can be edited as required using the options available in the Connections page.
Note: Connections in already connected state connector cannot be updated. The connection must be revoked, updated, and connected again.
If the connection is being used in a Webhook, you cannot update its scope while it is in the connected state.
For additional details, refer to the deluge Connections document.
 Warning: Password Reset and Connector Revocation
Enabling Revoke Connector during a mail password reset will disconnect all connectors across IoT organizations linked to the same mail ID, resulting in data loss. Each affected connector must be re-authenticated to resume operation.
This option is not enabled by default and should only be used when revocation is explicitly required for security purposes.
Deleting Connections
Connections that are not associated to any webhook can be deleted from the application.
To delete a Connection:
- Click on the ellipsis next to the connection name and connect/revoke button.
- Click Delete.
or
Click the Delete icon on the Connection in the connection's home page.
- Click Delete in the confirmation box. The connection will be deleted if there are no associations.
If there are associations to the connection from webhook, the dependency message popup will be displayed, and the connection will not be deleted.
For additional details, refer to the deluge Connections document.
See Also