Creating and managing action item in reports for mobile and tablet
1. What does this page cover
Learn how to configure customized actions items for reports and access them on mobile and tablet devices. Learn how to create an action item for a report in the web
2. Availability
- Available across all plans of Creator
- Can be configured only by admins and developers for the users to access
- Available in all report types, except for pivot chart and pivot table
3. Action item in report
Action item in Zoho Creator reports serves as an addition to the default report actions, such as edit, delete, duplicate, and view record, allowing users to interact with report entries. When actions beyond these built-in options are needed, action item provides a customizable solution to meet those extended requirements.
Adding an action item involves creating a workflow that defines the logic behind the intended action. Once configured, the action appears as a button in either the quick view or detailed view of a report record based on its configuration. When clicked, it triggers the associated workflow, applying the defined logic and producing the required result.
Also, default report actions such as edit, delete, and view records can be restricted for users by configuring the appropriate user permission set. By unchecking the corresponding checkboxes for these actions, users assigned to that permission set will not see or be able to access these action items in the report.
Note: Action items are not included when exporting data from a report.
3.1. Business use case
Case 1: Consider a Zoho Creator application used for logistics management. Action items can be leveraged to streamline delivery status updates directly from the report view. For instance, delivery personnel can use customized action item buttons, such as Mark as delivered or Mark as delayed, without navigating away from the report. Clicking Mark as delivered can update the shipment status, log the delivery time, and trigger a customer notification, while Mark as delayed can prompt for a reason, update the status, and notify the operations team. This setup ensures real-time updates, improves operational efficiency, and enhances communication between teams and with customers.
Case 2: Consider an organization that uses a Zoho Creator application for field service operations, where the service area is divided into different zones. Customers can raise service requests for a specific zone using a form, and these requests are stored in a Service requests report. Once all service requests within a zone are addressed, technicians can trigger a customized action item called Mark area serviced configured in the report. On clicking this action, the system automatically fetches all service request records linked to that zone and updates their status to Completed. This eliminates the need for manual updates, ensures data consistency, and significantly improves operational efficiency.
3.2. Navigation guide
3.3. Steps to configure an action item
- Navigate to the preferred report in the edit mode of the application and click the mobile or tablet icon to create an action item for the required device type.
- Select the Quick View or Detail View tab. Skip this step for Spreadsheet reports, as they only have a consolidated view where records are displayed in a spreadsheet format.
- Quick View: The configured action item will be displayed when the action is performed on a record in the quick view of the report.
- Detailed View: The configured action item will be displayed when the action is performed on a record in its detailed view.
- Select the Actions tab. You’ll see the default actions organized into sections based on when each action is displayed.
- Click the plus (
) icon in the preferred sections listed under the Quick View or Detailed View actions:
Quick ViewDetailed ViewOn Tap of a Record: Action items will be displayed when the record is tapped. Select the preferred action item to execute. If only one action item is available, it will be executed directly.For Single Record: Action items will be displayed when clicking the horizontal ellipsis next to the record. Select the preferred action item to execute.For Long Press of a Record: Action items will be displayed when long-pressing the record. Select the preferred action item to execute.For Swipe Left of a Record: Action items will be displayed when swiping from left to right on the record. Select the preferred action item to execute.For Swipe Right of a Record: Action items will be displayed when swiping from right to left on the record. Select the preferred action item to execute.For Multiple Records: Action items will be displayed after selecting multiple records. Select the preferred action item to execute.For Selected Record: Action item will be displayed when clicking the horizontal ellipsis in the detailed of the preferred record. Select the preferred action item to execute.For Selected Record: Action item will be displayed when clicking the horizontal ellipsis in the detailed of the preferred record. Select the preferred action item to execute. - Note: If an action is already set up on the web or in another section, clicking the plus ( + ) icon will display them along with other actions that are not yet added to this section. You can select an existing action to add it, or click + Add new item to create a new one.
- Enter the name of your action item and select whether you want to enable it based on a condition. The action item will be accessible to the user only when the specified criteria are met. Otherwise, it will remain disabled. For example, in a task tracking application, you can set a condition to enable the action item 'Mark as Completed' only when the task status is 'In Progress'. This ensures that the action item becomes accessible only at the appropriate stage, and upon execution, it updates the task status to 'Completed'.
- A pop-up will be shown to set the condition, if you have selected the On Condition option. Specify the criteria in the Set Condition popup and click Done.
- Select when to execute the workflow. If you want to execute the workflow directly after clicking the action, select Once or select After Confirmation, If you want to show the confirmation message as a pop-up when the user clicks the action item in the report before executing.
- When you select After Confirmation, you will be shown a pop-up. Select the either of the following tabs:
- Individual Record: Configure the pop-up to be displayed when triggering the action item for a single record.
- Multiple Records: Configure the pop-up to be displayed when triggering the action item by selecting multiple records.
- Enter the message to be displayed and button texts in the confirmation pop-up on executing the action item on and click Done.
- For individual records: You can include values from the fields of the respective record in the pop-up message by clicking 'Insert Fields.' This allows dynamic content based on the selected record.
- For multiple records: Only the record count can be dynamically added to the pop-up message. Field values from individual records cannot be included.
- Enter the name of the workflow.
- If you are creating an action For Multiple Records, you will be shown two options additionally to choose whether to execute the action for each record or for the collection of record.
- If the action item is configured using Execute Action for Each Record, the workflow will run individually for every selected record, sending personalized email notifications to each customer.
- If the action item is configured using Execute Action for Collection of Records, the workflow will run only once, regardless of the number of records selected. In this case, the organization can get a single consolidated notification updating the status of all delivered packages at the end of the day.
- Click the Create Workflow. The workflow builder will appear.
- Click Add New Action.
- Select when the action should run. If you choose the On Condition option, additional fields will appear to set the criteria. Specify the required criteria.The configured action will be executed only if the condition is met when the action item is clicked.
- Select the preferred Action Type.
- Define specifics for the selected action type and create a Workflow. Click Done.
- Click Create. The action will be included in the report.
Note:
Info: Execute Action for Each Record will repeat the workflow for every single record (Ex: If 3 Selected Records selected the workflow would run 3 times), whereas Execute Action for Collection of record will run the function only once regardless of the selection of multiple records.
For example: Let’s consider a shipment organization that uses a Creator application to track package statuses. An action item is configured to send email notifications to customers when their packages reach the hub.
 Note: For multiple records, if the action is selected to execute on the collection of records, the function selected in the Deluge script action item must have a form object as an argument.Note: The workflow configured in the action item will be listed under Report workflows under the Workflows tab in the edit mode of the application. Learn more
 4. Accessing report actions in the application's live mode on mobile or tablet
Depending on how the action item is configured, the position and the way of accessing the action item will differ, as shown below
Mobile
Tablet
Mobile
Quick View
- On Tap of a Record
Tap the preferred record to view the action items and select the preferred action item to execute the configured action. If only one action item is added, it will be executed directly on tap of the record. - For Single Record
Tap on the horizontal ellipsis icon near a record to view the action item and select the preferred action item to execute the configured action. - For Long Press of a Record
Tap and hold a record to view the action item and select the preferred action item to execute the configured action. - For Swipe Left of a Record
Swipe from the left side of the record to reveal the action item on its left and select the preferred action item to execute the configured action. - For Swipe Right of a Record
Swipe from the right side of the record to reveal the action item on its right and select the preferred action item to execute the configured action. - For Multiple Records
In the preferred report, select the vertical ellipsis icon at the top of the screen to view the action items configured for multiple records. Click the desired action item, then select records to perform the action.
Detail View
- For Selected Record
In the detailed view of a record, select the vertical ellipsis icon at the top of the screen to view the action items and select the preferred action item to execute the configured action.
Tablet
Quick View
- On Tap of a Record
Tap the preferred record to view the action items and select the preferred action item to execute the configured action. If only one action item is added, it will be executed directly on tap of the record. - For Single Record
Tap on the horizontal ellipsis icon near the preferred record to view the action items and select the preferred action item to execute the configured action. - For Long Press of a Record
Tap and hold a record to view the action items and select the preferred action item to execute the configured action. - For Swipe Left of a Record
Swipe from the left side of the record to reveal the action item on its left and select the preferred action item to execute the configured action. - For Swipe Right of a Record
Swipe from the right side of the record to reveal the action item on its right and select the preferred action item to execute the configured action. - For Multiple Records
In the preferred report, click the Select button in top of the report to view the action items configured for multiple records. Select records and click the action item to perform the configured action.
Detail View
- For Selected Record
In the detailed view of a record, select the vertical ellipsis icon to view the action items and select the preferred action item to execute the configured action.
5. Managing action items in report
The managing action item in the report includes:
5.1. Adding an action item
Note: This section explains how to add an existing action item to the report. Click here to learn how to create a customized action.
If an action is already configured on the web or in another section for mobile or tablet, it can easily be readded in other sections for the Quick View or Detail View actions across devices. To do this, just add the action to the required section in the Quick View or Detail View actions by following the steps below:
Note: You can also re-add the removed action item by following the same steps.
- Navigate to the Actions tab under the Quick View or Detail View section of the preferred report in the application's edit mode.
- Click the plus(
)icon in the preferred sections listed under the Quick View or Detailed View actions. Actions that are not yet added to the selected section will be listed. This includes actions configured for the web or created in other sections for mobile or tablet.
- Click on the preferred action to add it to the list. If you would like to create a new action item, click + Add new action. Learn how to create a new action item
Note: If all the available actions are added in the selected section, you'll be prompted directly to create a new action item upon clicking the plus (  ) icon.
5.2. Removing an action item
The default action item(Edit, View Record, Duplicate, Delete) and the action item can be removed from the preferred sections by following the steps given below:
- Navigate to the Actions tab under the Quick View or Detail View section of the preferred report in the application's edit mode.
- Hover on the action listed under the respective section and click the delete (
) icon. The action will be removed from the list.
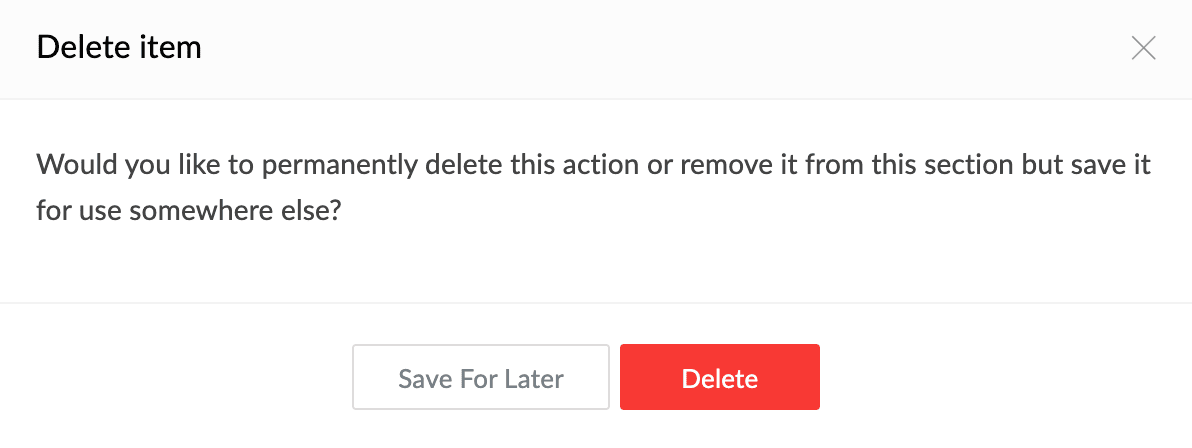
Note: If you remove a custom-configured action that is not used in any other section, a pop-up will appear asking whether you want to delete the action permanently or save it for later. Choosing Delete will remove the action permanently, while Save for later will remove it from the current section, but allow you to re-add it later.
5.3. Editing label names of actions
The label names of the action item can be edited by following the steps below:
Note: Changing the label name of an action item used in multiple Quick View or Detailed View sections will update the action item's name across all such sections in the report.
- Navigate to the Actions tab under the Quick View or Detail View section of the preferred report in the application's edit mode.
- Hover on the action listed under the respective section and click the edit label (
) icon. Type in the required name for the action and press enter to save changes.
d
- Type in the required name for the action and press enter to save changes.
5.4. Editing an action item
The action item that you've created can be edited by following the steps below:
- Navigate to the Actions tab under the Quick View or Detail View section of the preferred report in the application's edit mode.
- Hover on the action item listed under the respective section and click the edit (
) icon.
- Make the necessary changes, such as renaming the action, setting condition criteria, or adding a confirmation message.
- Click Edit Workflow to make changes to the associated workflow.
- Click Done after making changes to the workflow.
- Click Update to apply the changes.