Using Zapier for Zoho FSM Integrations
Zapier is an automation tool that connects different apps to streamline workflows without needing any coding. With 5,000+ app integrations, Zapier lets you automate workflows, save time, and reduce manual work. Listed below are some workflows that you can achieve using Zapier:
- Post in a Slack channel when a Zoho FSM work order is created.
- Automatically copy any new estimate created in QuickBooks to Zoho FSM.
- Create Google Calendar events for Zoho FSM Service Appointments.
It works by setting up Zaps (automations) that trigger an action in one app based on an event in another. A Zap connects two or more apps to automate a task. It consists of:
- Trigger: The event that starts the automation (e.g., a new Work Order in Zoho FSM).
- Action: What happens when the trigger is activated (e.g., send a Slack message).
How are Zaps for Zoho FSM implemented?
When Zoho FSM is used as a Trigger in a Zap, the integration is implemented using Zoho FSM Workflow Rules and Webhooks.
- Workflow Rule: Detects a change or action (e.g., when a Work Order is completed).
- Webhook Action: Sends a POST request to a Zapier Webhook URL.
- Zapier: Receives the webhook trigger and continues the automation using data sent from Zoho FSM (e.g., post in the Slack channel).
Thus, each zap that uses Zoho FSM as a trigger will use up a workflow rule and webhook in Zoho FSM.
Limits
You can create a total number of 20 Zaps and Flows that use Zoho FSM as a trigger. Correspondingly, you’ll be allocated 20 additional workflow rules and webhooks within Zoho FSM to support these integrations. This count is in addition to the workflow rules and webhooks included in each pricing edition.
Setting Up a Zap
Setting up a zap involves the following steps:
To explain the steps, we will be using the example: post in the Slack channel when a Zoho FSM work order is created.
Step 1: Set Up a Trigger
A trigger is the event that starts the automation (e.g., a new Work Order in Zoho FSM).
- In Zoho FSM, navigate to Setup > Integration > Zapier and click Get Started.
- Click Log in and enter your Zapier credentials.
Click Sign up if you don't have a Zapier account. - Click Create workflow.
You will be taken to the Zap Editor with an Untitled Zap created in the Draft status. Rename as required. - Click Trigger and choose Zoho FSM.
- Under Setup, do the following and click Continue.
- Select the Trigger event as New Module Entry.
- Choose the Zoho FSM Account you want to use.
- Under Configure, select Work Orders as the Module and click Continue.
- Test the trigger using a Zoho FSM record.
Step 2: Add an Action
An action is what happens when the trigger is activated (e.g., post in the Slack channel).
- Select Slack as the app where the Action should occur.
- Under Setup, do the following and click Continue.
- Select the Action event as Send Channel Message.
- Choose the Slack Account you want to use.
- Under Configure, do the following and click Continue.
- Select the Slack Channel where you want to post the message.
- Enter a Message Text as Work Order {Work Order Name} created for {Contact Name}!.
Use + to insert the dynamic variables. - Test, if required.
Step 3: Activate Your Zap
Once everything is set up, click Publish.
Testing
Create a work order in Zoho FSM, and you will see the message posted in your Slack channel.
More Examples - Email Parser
Using Zapier’s Email Parser to extract data from customer emails and automatically create a Contact in Zoho FSM using that data.
Step 1: Set Up a Trigger - New Email in Email Parser by Zapier
- In Zoho FSM, navigate to Setup > Integration > Zapier and click Get Started.
- Click Log in and enter your Zapier credentials.
Click Sign up if you don't have a Zapier account. - Click Create workflow.
You will be taken to the Zap Editor with an Untitled Zap created in the Draft status. Rename as required. - Click Trigger and choose Email Parser.
Refer to this section to know how to set up the Email Parser by Zapier for extracting contact details from emails. - Under Setup, do the following and click Continue.
- Select the Trigger event as New Email.
- Choose the Email Parser by Zapier Account you want to use.
- Under Configure, select your Mailbox and click Continue.
- Test the trigger using an email.
Step 2: Add an Action - Create a contact in Zoho FSM
- Select Zoho FSM as the app where the Action should occur.
- Under Setup, do the following and click Continue.
- Select the Action event as Create Module Entry.
- Choose the Zoho FSM Account you want to use.
- Under Configure, do the following and click Continue.
- Select Contacts as the Module.
- Select the following values:
First Name: Parse Output Firstname
Last Name: Parse Output Lastname
Email: Parse Output Email
Phone: Parse Output Phone
Currency: USD - Test, if required.
Step 3: Activate Your Zap
Once everything is set up, click Publish.
Setting up Email Parser by Zapier
Refer to this page for details on setting up your Email Parser account in Zapier. As shown in the screenshot below, in the email template, highlight the words or groups of words that you want to show up as data in your Zap.
Testing
Send an email to your Zapier inbox. A contact will be created in Zoho FSM.
More Examples - QuickBooks
Automatically copy any new estimate created in QuickBooks to Zoho FSM.
Note: Ensure that the services and parts in the estimate in QuickBooks should be present in Zoho FSM. Also, that the prices and tax values used are the same in QuickBooks and Zoho FSM.
The zap for this example will involve the following steps:
Step 1: Set Up the Trigger - A new estimate in QuickBooks
Set the trigger for the zap to be a new estimate in QuickBooks.
- Navigate to Setup > Integration > Zapier.
- Click Log in and enter your Zapier credentials.
Click Sign up if you don't have a Zapier account. - Click Create workflow.
You will be taken to the Zap Editor with an Untitled Zap created in the Draft status. Rename as required. - Click Trigger and choose QuickBooks Online.
- Under Setup, do the following and click Continue.
- Select the Trigger event as New Estimate.
- Choose the QuickBooks Account you want to use.
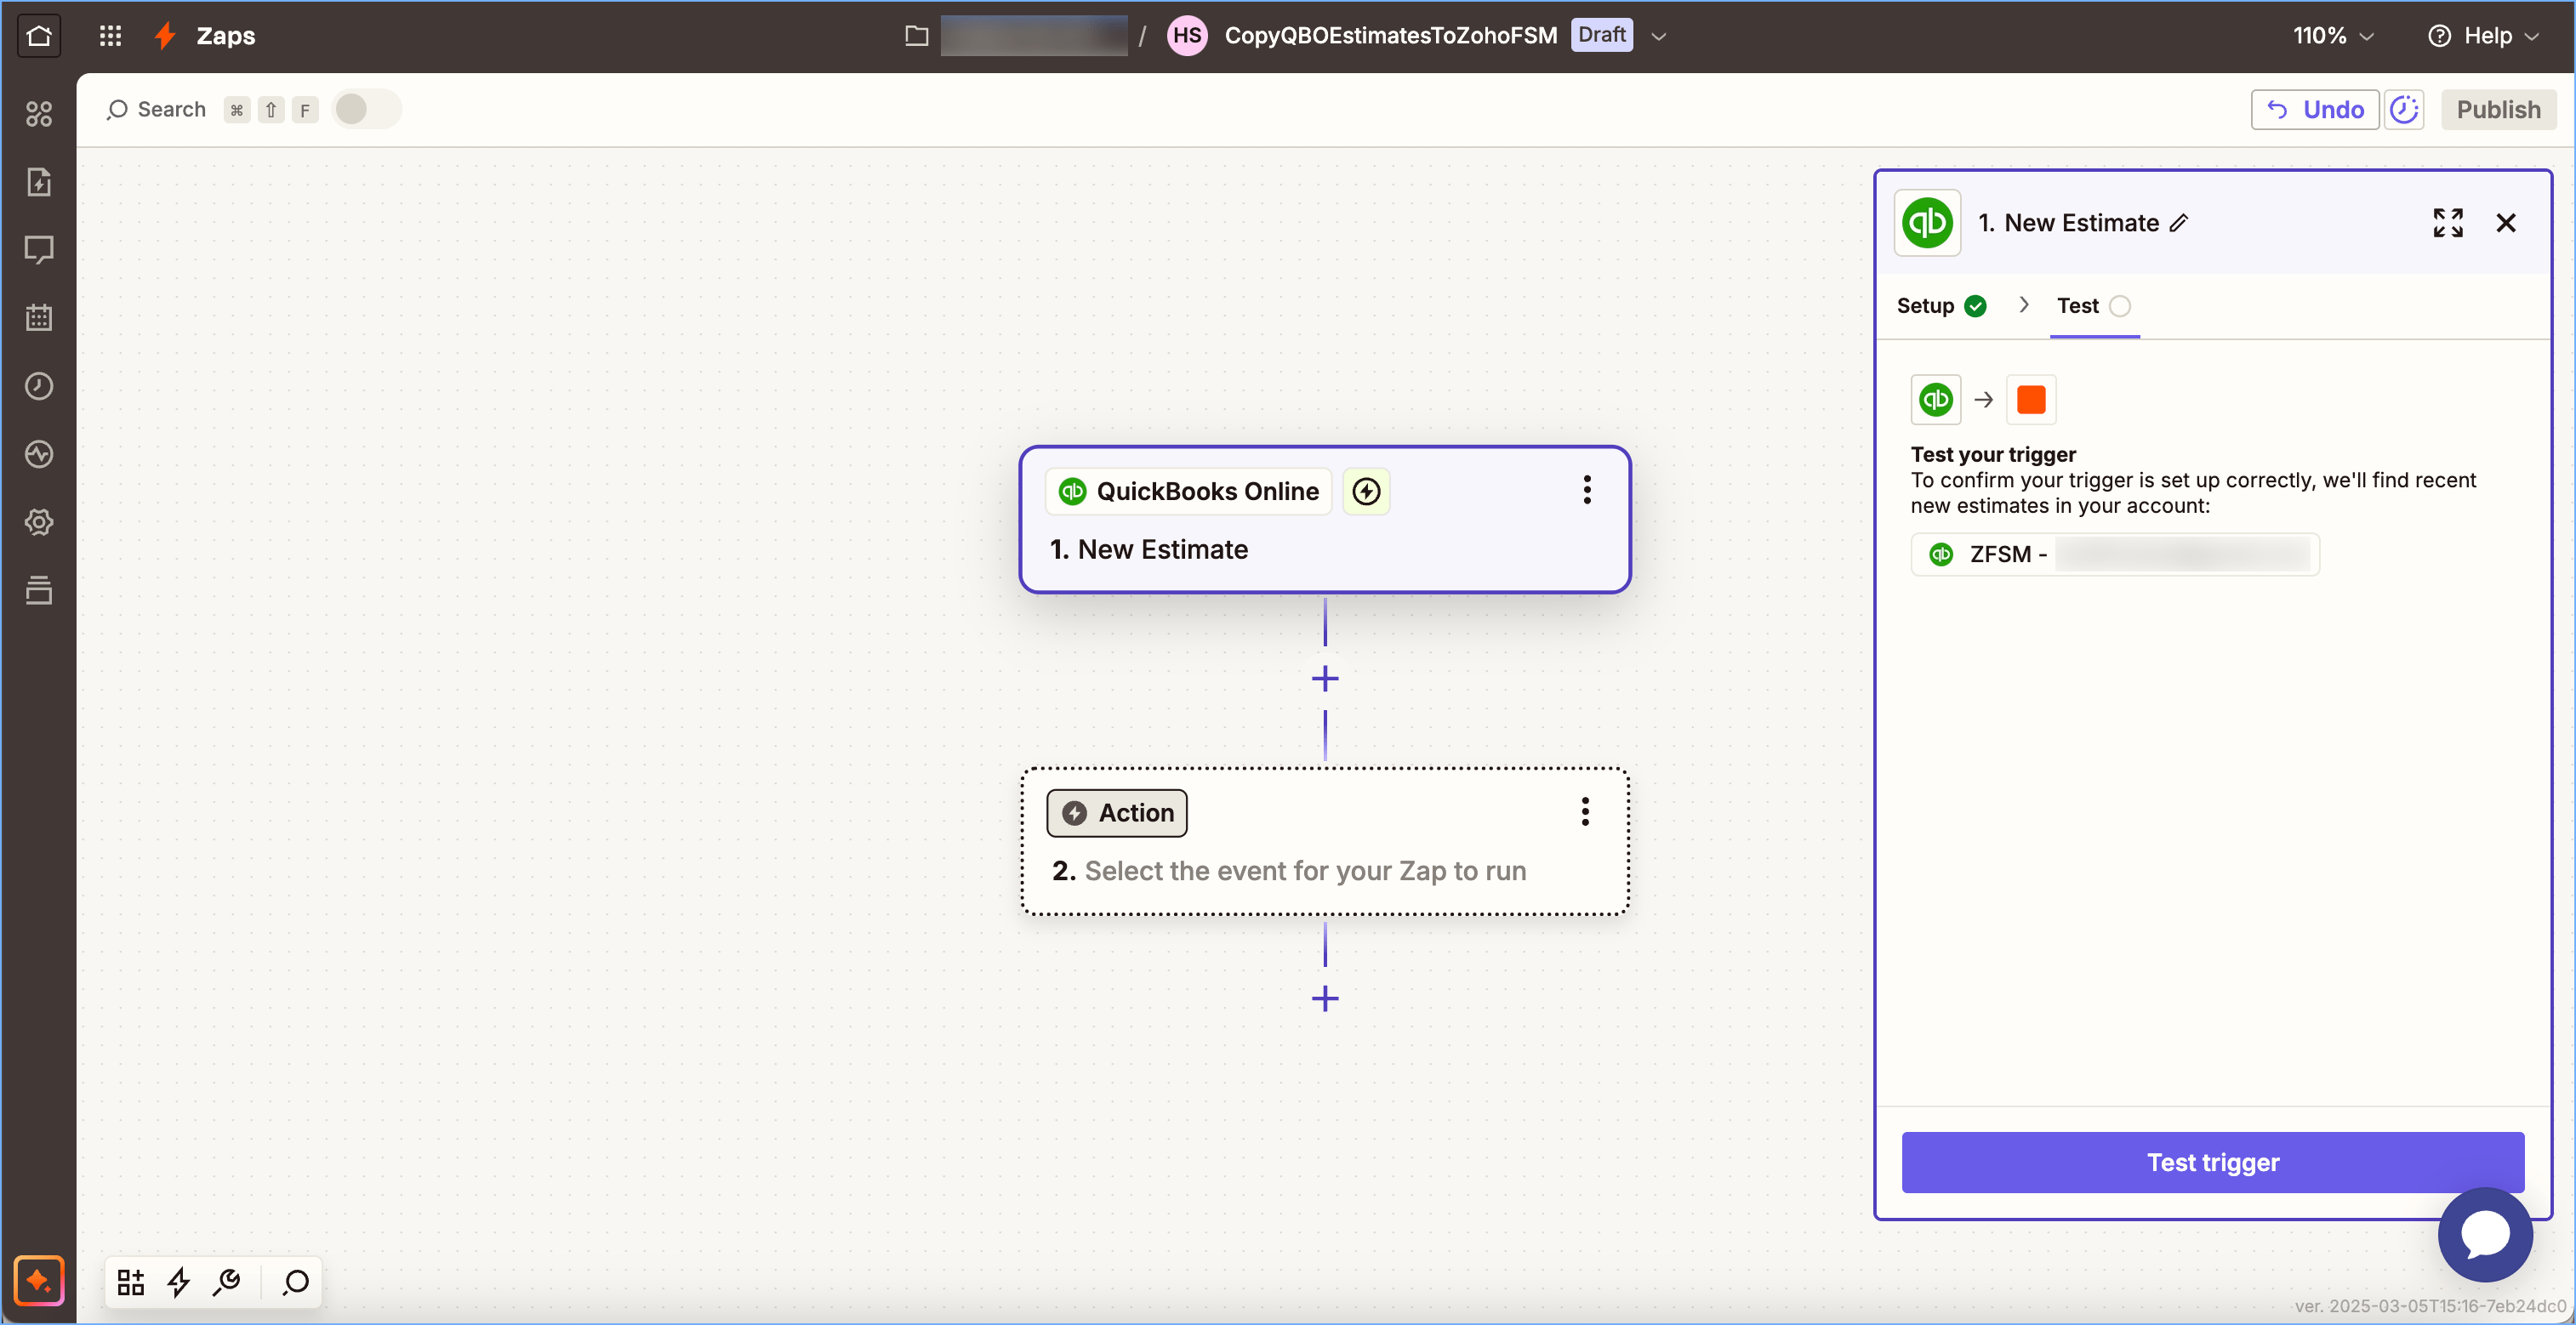
Test the trigger using an estimate record in QuickBooks.
Step 2: Add an Action - Get details of the customer used in the estimate
Fetch the details of the customer used in the estimate.
- Select QuickBooks Online as the app where the Action should occur.
- Under Setup, do the following and click Continue.
- Select the Action event as Find Customer.
- Choose the QuickBooks Account you want to use.
- Under Configure, select the following values and click Continue.
- Search Field: ID
- Search Value: Customer Ref Value
Click + and select the value. - Test step.
Step 3: Add an Action - Search customer in Zoho FSM
Using the customer details from the previous step, search for the customer in Zoho FSM using their email ID. If the customer is not found, create a new contact record in Zoho FSM.
- Click + to Add step.
- Select Zoho FSM as the app where the Action should occur.
- Under Setup, do the following and click Continue.
- Select the Action event as Find Module Entry.
- Choose the Zoho FSM Account you want to use.
- Under Configure, select the following values and click Continue.
- Module: Contacts
- Field name: Email
- Value: Primary Email Addr Address
Click + and select the value from under Find Customer in QuickBooks Online. - Check Create Zoho FSM Record if it doesn’t exist yet?
- Last Name: Given Name
Click + and select the value from under Find Customer in QuickBooks Online. - Email: Primary Email Addr Address
Click + and select the value from under Find Customer in QuickBooks Online. - Select a Company
- Select a Currency
- Service Address - City: Ship Addr City
Click + and select the value from under Find Customer in QuickBooks Online. - Billing Address - City: Bill Addr City
Click + and select the value from under Find Customer in QuickBooks Online. - Test step.
Step 4: Add an Action - Fetch the line items from the estimate
Get the details of the line items from the estimate.
- Click + to Add step.
- Select QuickBooks Online as the app where the Action should occur. Rename the step as Find Line Items from QBO.
- Under Setup, do the following and click Continue.
- Select the Action event as Find Products.
- Choose the QuickBooks Account you want to use.
- Under Configure, select the following value and click Continue.
- Product Name: Line Sales Item Line Detail Item Ref name
Click + and select the value from under New Estimate in QuickBooks Online. - Test step.
Step 5: Add an Action - Add Zapier Formatter
Use the Zapier Formatter to convert comma delimited text values obtained in the previous step to line-items, i.e., 'a,b,c,d' becomes [a,b,c,d]. The line items obtained will be used in the subsequent step.
- Click + to Add step.
- Select Formatter as the app where the Action should occur.
- Under Setup, do the following and click Continue.
- Select the Action event as Utilities.
- Under Configure, do the following and click Continue.
- Select Line Itemizer (Create/Append/Prepend) for Transform
- Enter Item formatter for Line-item(s) Group Name
- Add the following value sets for Line-item Properties:
Key Value name Line Sales Item Line Detail Item Ref name quantity Line Sales Item Line Detail Qty price Line Sales Item Line Detail Unit Price Select all values from New Estimate in QuickBooks Online. - Test step.
Step 6: Add an Action - Separate the services and parts
From the line item details obtained from the previous step, separate the services and parts so it can be used to create the estimate in Zoho FSM in the subsequent step.
- Click + to Add step.
- Select Zoho FSM as the app where the Action should occur.
- Under Setup, do the following and click Continue.
- Select the Action event as Separate Service & Parts.
- Choose the Zoho FSM Account you want to use.
- Under Configure, select the following values and click Continue.
- Find Services & Parts By: Name
- Service & Parts Values: Output Item Formatter Name
Click + and select the value from under Utilities in Formatter by Zapier. - Quantity: Output Item Formatter Quantity
Click + and select the value from under Utilities in Formatter by Zapier. - List Price: Output Item Formatter Price
Click + and select the value from under Utilities in Formatter by Zapier. - Test step.
Step 7: Add an Action - Create the estimate in Zoho FSM
Create the estimate record in Zoho FSM.
- Click + to Add step.
- Select Zoho FSM as the app where the Action should occur.
- Under Setup, do the following and click Continue.
- Select the Action event as Create Module Entry.
- Choose the Zoho FSM Account you want to use.
- Under Configure, select the following values and click Continue.
- Module: Estimates
- Summary: Doc Number
Click + and select the value from under New Estimate in QuickBooks Online. - Company: Company ID
Click onand select Custom. Select the value from under Find Module Entry in Zoho FSM.
- Contact: ID
Click onand select Custom. Select the value from under Find Module Entry in Zoho FSM.
- Email: Email
Click + and select the value from under Find Module Entry in Zoho FSM. - Click and choose the Service Address
Service line items - Service: Services ID
Click onand select Custom. Select the value from under Separate Service & Parts in Zoho FSM.
- Quantity: Services Quantity
Click + and select the value from under Separate Service & Parts in Zoho FSM. - List Price: Services List Price
Click + and select the value from under Separate Service & Parts in Zoho FSM.
Part line items - Service Line Item: Services ID
Click onand select Custom. Select the value from under Separate Service & Parts in Zoho FSM.
- Part: Parts ID
Click onand select Custom. Select the value from under Separate Service & Parts in Zoho FSM.
- Quantity: Parts Quantity
Click + and select the value from under Separate Service & Parts in Zoho FSM. - List Price: Parts List Price
Click + and select the value from under Separate Service & Parts in Zoho FSM. - Test step and Publish the zap.
Zoho FSM Workflow Rules vs Zapier: What to Use When
Zoho FSM Workflow Rules
Use Zoho FSM Workflow Rules when you need to:
- Automate your internal processes tied to your service modules.
- Trigger workflows based on updates in Zoho FSM modules like Requests, Work Orders, Service Appointments, and more.
- Enforce company-specific business rules (e.g., notify the customer by email each time the status of a request changes.).
- Maintain automation without relying on third-party tools.
Key Benefits:
- Native to Zoho FSM: No setup outside of Zoho FSM required.
- No extra cost: Included in your Zoho FSM pricing.
- Simple to use: Intuitive interface for rule creation and condition setup.
Zapier
Use Zapier when you need to:
- Set up no-code automation without writing scripts or relying on APIs.
- Integrate with apps that may not offer advanced automation capabilities but do provide basic trigger options.
- Extend Zoho FSM with tools or functionalities not currently supported in Zoho FSM, such as:
- Email parsing of customer or lead information arriving by email
- Complex workflows with multiple app interactions
- Connect Zoho FSM with external applications not in the Zoho ecosystem.
- QuickBooks Online: Automatically copy any new estimate created in QuickBooks to Zoho FSM.
- HubSpot: Automatically create a work order in Zoho FSM when a new deal is closed in HubSpot
Key Benefits:
- Cross-platform automation: Ideal for syncing Zoho FSM data with non-Zoho systems.
- Quick to set up: No coding required.
- Extensive app ecosystem: Supports thousands of popular business apps.
- Flexible triggers/actions: Choose from a variety of triggers and multi-step workflows.