Install and Manage Extensions
Install Extension

Note: Extensions are only available in C6 paid plans.
Extensions are software components that add additional functionality that is not provided out of the box by the Creator. You can install the desired extension from the Zoho Marketplace. Learn more about extensions.
The following are the two major steps to include extensions in your application:
Step 1: Install Extension from Marketplace
Note: Extensions can only be installed by super admins.
- Log in to marketplace.zoho.com.
- Click Extensions and select Creator under the CUSTOM SOLUTIONS section.
- You can find all the extensions published in the Zoho Marketplace. Search for and select the preferred extension.
You can also search for the desired extension by using the search bar or by filtering the extensions based on categories, edition, price, ratings, and deployment type. - Click Install. A pop-up will be shown with the extension details and your personal details such as, name, email, company name, job title, and so on that will be shared with the vendor.
- Agree to the terms and conditions and click Install.
Alternatively, you can also install extensions directly from the Zoho Creator. For ease of access, the Marketplace is embedded in the Zoho Creator. Navigate to Operations section > Application > Marketplace > Extensions. You can find all the published extensions here. Explore and install the desired extension.
After successful installation, the extensions will be listed under the Installed Extensions section under Marketplace in Zoho Creator.
Step 2: Use Extension in Application
Note: As of now, only widgets are available as extensions in Creator.
Once the extension is installed from the Marketplace, you can use it in the desired application by following the steps below.
- Open your application in edit mode and navigate to the desired page to which you want to add the extension. Hover over the screen and click Open Page Builder.
- Click Widgets and select Installed. Your installed extensions will be listed here.
- You can now configure the extension and access your application in live mode to view the extension's working.
Note: If your extension is disabled, it will not show up under the Installed Extensions category under the Widgets section in the page builder. Manage Extension
Zoho Creator enables you to manage all the installed extensions, allowing you to do the following actions:
View Extensions Details
This page contains basic information about the extension and its referred applications with the extension version in the respective environment.
- Navigate to the Operations section > Application > Marketplace.
- Select the Installed Extensions tab. You can find all your installed extensions listed with the Extension name, Version, Subscription, and Status, as shown.
- Click on the desired extension to view developer information, installation details, and a list of applications utilizing the extension, along with the respective extension version in each application environment.
- Click References near the desired application to view where the extension is used in that particular application.
Update and Map Extension
The ability to update will be available for installed extensions only if the extension developer has published a new version in the Marketplace. Updating the extension may provide you with an enhanced experience or bug fixes, depending on what the developer adds to the updated version.
Note:
- An extension, once updated, cannot be reverted to previous versions.
- You can update only the latest available version of the extension. For example, if you have installed an extension with version 1.0 from the Marketplace and the available latest version for updating is 3.0. You can only update to the latest version 3.0, and version 2.0 will be inaccessible.
- Navigate to the extension details page of the desired extension that you want to update.
- Click Update in the top-right corner to update the extension to the latest version. This appears only if a new version is available.
- Click Update in the confirmation pop-up.
After successfully updating the extension to the latest version, you'll be prompted to map the latest extension version with referred applications for the version changes to take effect. - If an application is not mapped to the latest version of the extension, it will retain its current, older version.
- All applications must be mapped to the current updated version from the older versions before updating to the next extension version.
- Click Map Extension in the pop-up that appears.
- Select the referred application and click Update for which the extension version changes to take effect.
- Only the current version and the new version of an extension can exist in an account at a time. If another update becomes available, it can't be applied until the previous update is published across all referred applications and their environments.
For example, if an extension is updated from V1.0 to V2.0, then V2.0 becomes the current version. When a new version, such as V3.0, is released, it cannot be updated until V2.0 is mapped to all referred applications and published across all their environments. - Mapping the latest extension version to applications with environments applies version changes only to the development environment. To apply these changes to other environments, you must publish them following the standard process for publishing an application to other environments. For applications without environment, the version changes are applied directly.
- Depending on the updated version of the extension, corresponding changes must be made to the referred pages as outlined in the extension's developer resource documents, after mapping to ensure proper functionality. For example, if the updated version of the extension introduces additional parameters that need configuration compared to the existing version, these parameters must be configured after mapping to maintain functionality.
 Note: Note:
- If you plan to map the extension later, you can cancel the mapping process after updating the extension and, at a later time, navigate to the extension details page and click Map Latest Version to complete the mapping.
- You can view the extension's version in the referred applications in their respective environments from the extension details page.
View References
Using references, you can view and locate the application and pages linked with the extension.
- Navigate to the extensions details page of the extension for which you want to view its references. You can view the list of applications linked with that extension under the Referred Applications section.
- Click References near the desired application to view its references.
You can select the referred application from Application dropdown and view the application page linked with that extension by clicking View.
Enable Extension
The installed extensions will be disabled automatically under any of the following cases:
- Zoho Creator subscription expiration - In this case all your extensions in your Creator account will be disabled. You have to upgrade your Creator account to continue using the extensions.
- Paid extension subscription expiration - In this case, only the paid extension that attained the end of its subscription period will be disabled. You must renew your subscription to that extension in the Marketplace to continue using it. You can find your expired extensions highlighted in red with status Expired under Installed Extensions.

Info:
- The disabled extension will not be shown in the Page Builder -> Widget -> Installed Section.
- If the extension used in the application is disabled, it will be displayed in the live mode and in the page builder as shown below.
In Live Mode | In Page Builder |
To enable the deactivated extension,
- Navigate to the Operations section > Application > Marketplace > Installed Extensions.
- Hover over any of the disabled extension and click on the horizontal ellipsis that appears. Select Enable.
- Depending on your case, a pop-up will be shown:
- In case of Creator subscription expiry - Click Upgrade from the pop-up. You will be directed to the Zoho Store to upgrade your account.
- In case of extension subscription expiry - Click Renew from the pop-up. You will be directed to the payments page in Marketplace to renew your extension.
For Creator Subscription Expiry | For Extension Subscription Expiry |
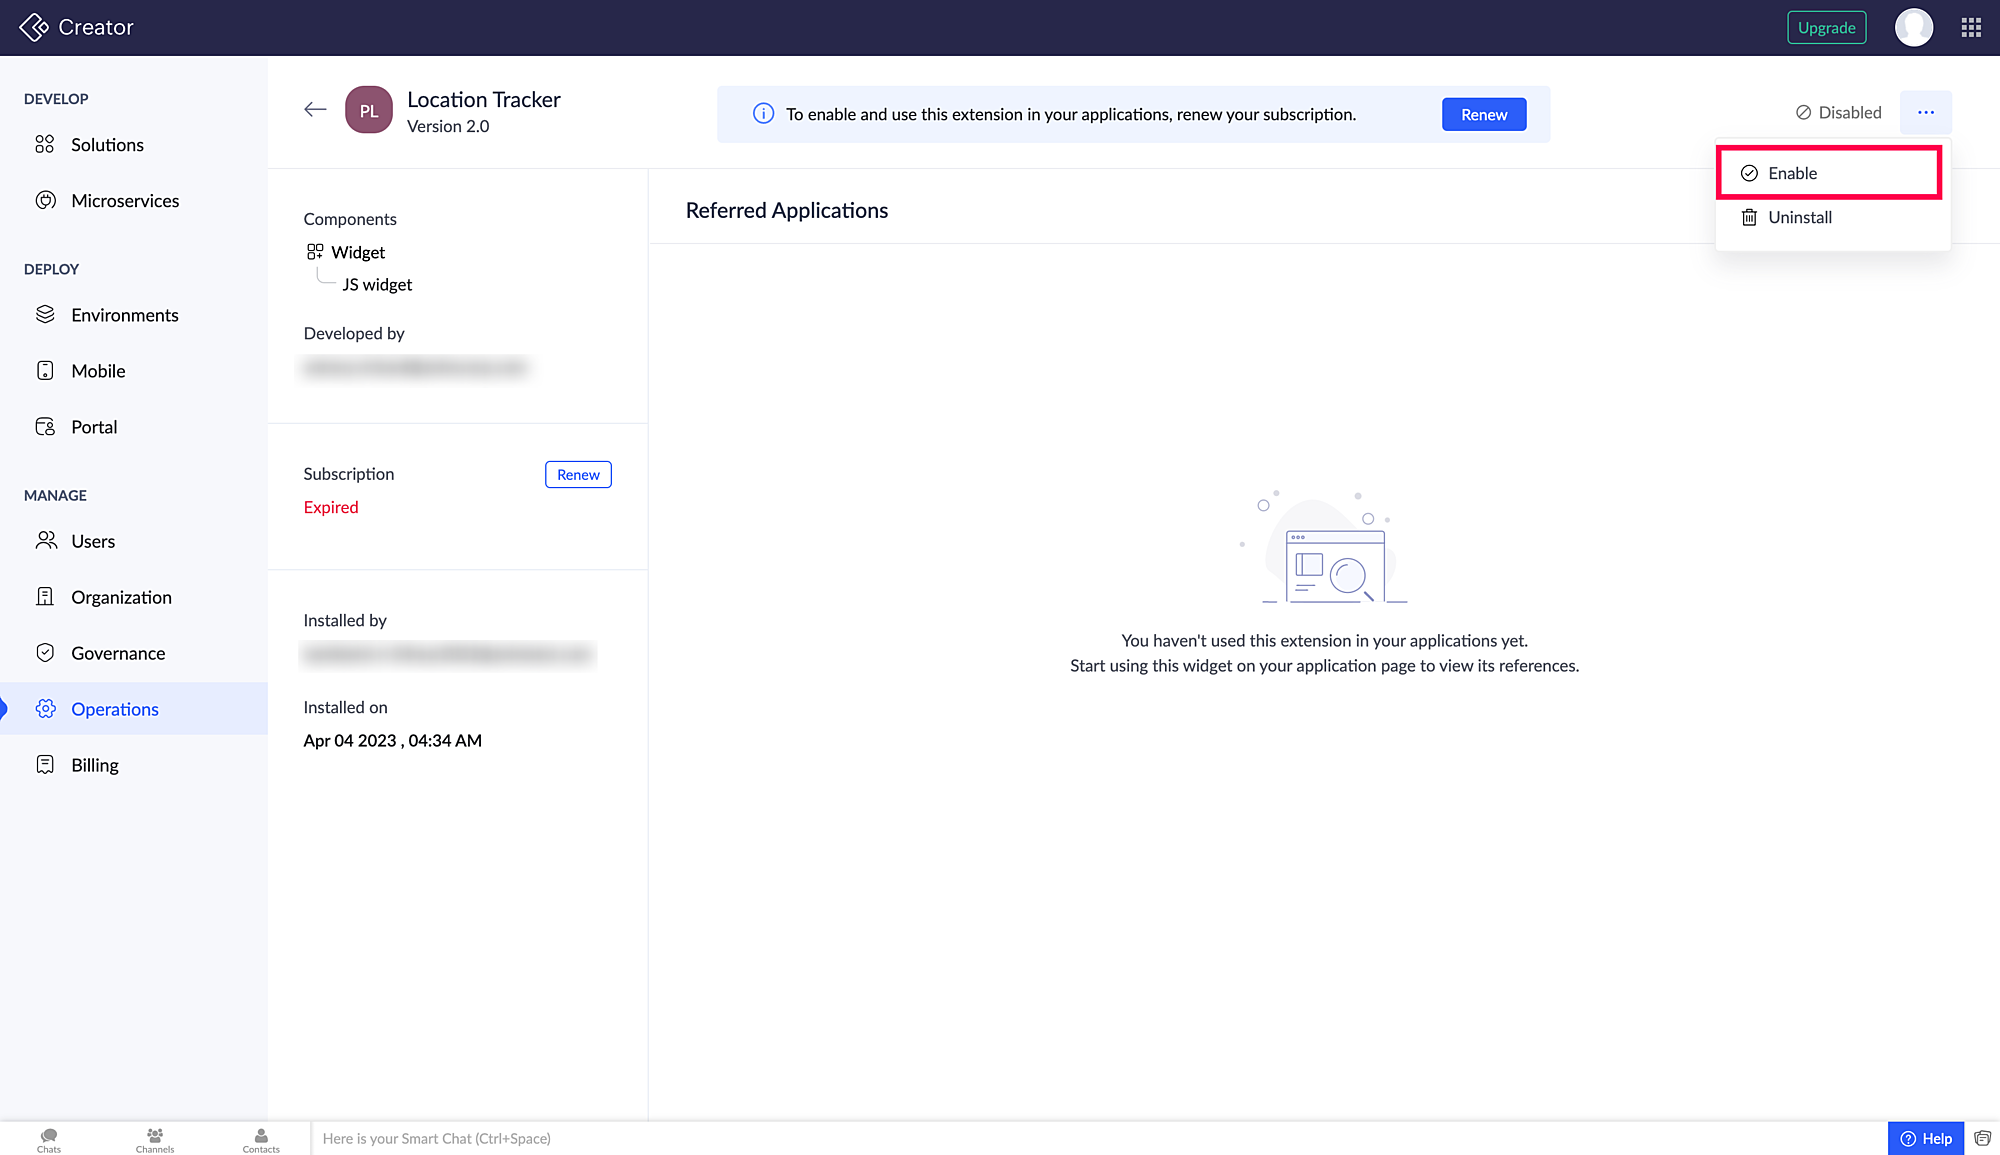
Alternatively, you can also enable the extension from the extension details page by selecting Enable in the horizontal ellipsis, as shown below.
Uninstall Extension
Uninstalling will remove the extension from your account. However, you can reinstall the extension from the marketplace.
Note: If you uninstall a paid extension, your subscription will get cancelled, and to reinstall it, you need to subscribe again. For refund related requests, kindly contact support@zohomarketplace.com
To uninstall extension,
- Navigate to the Operations section > Application > Marketplace > Installed Extensions.
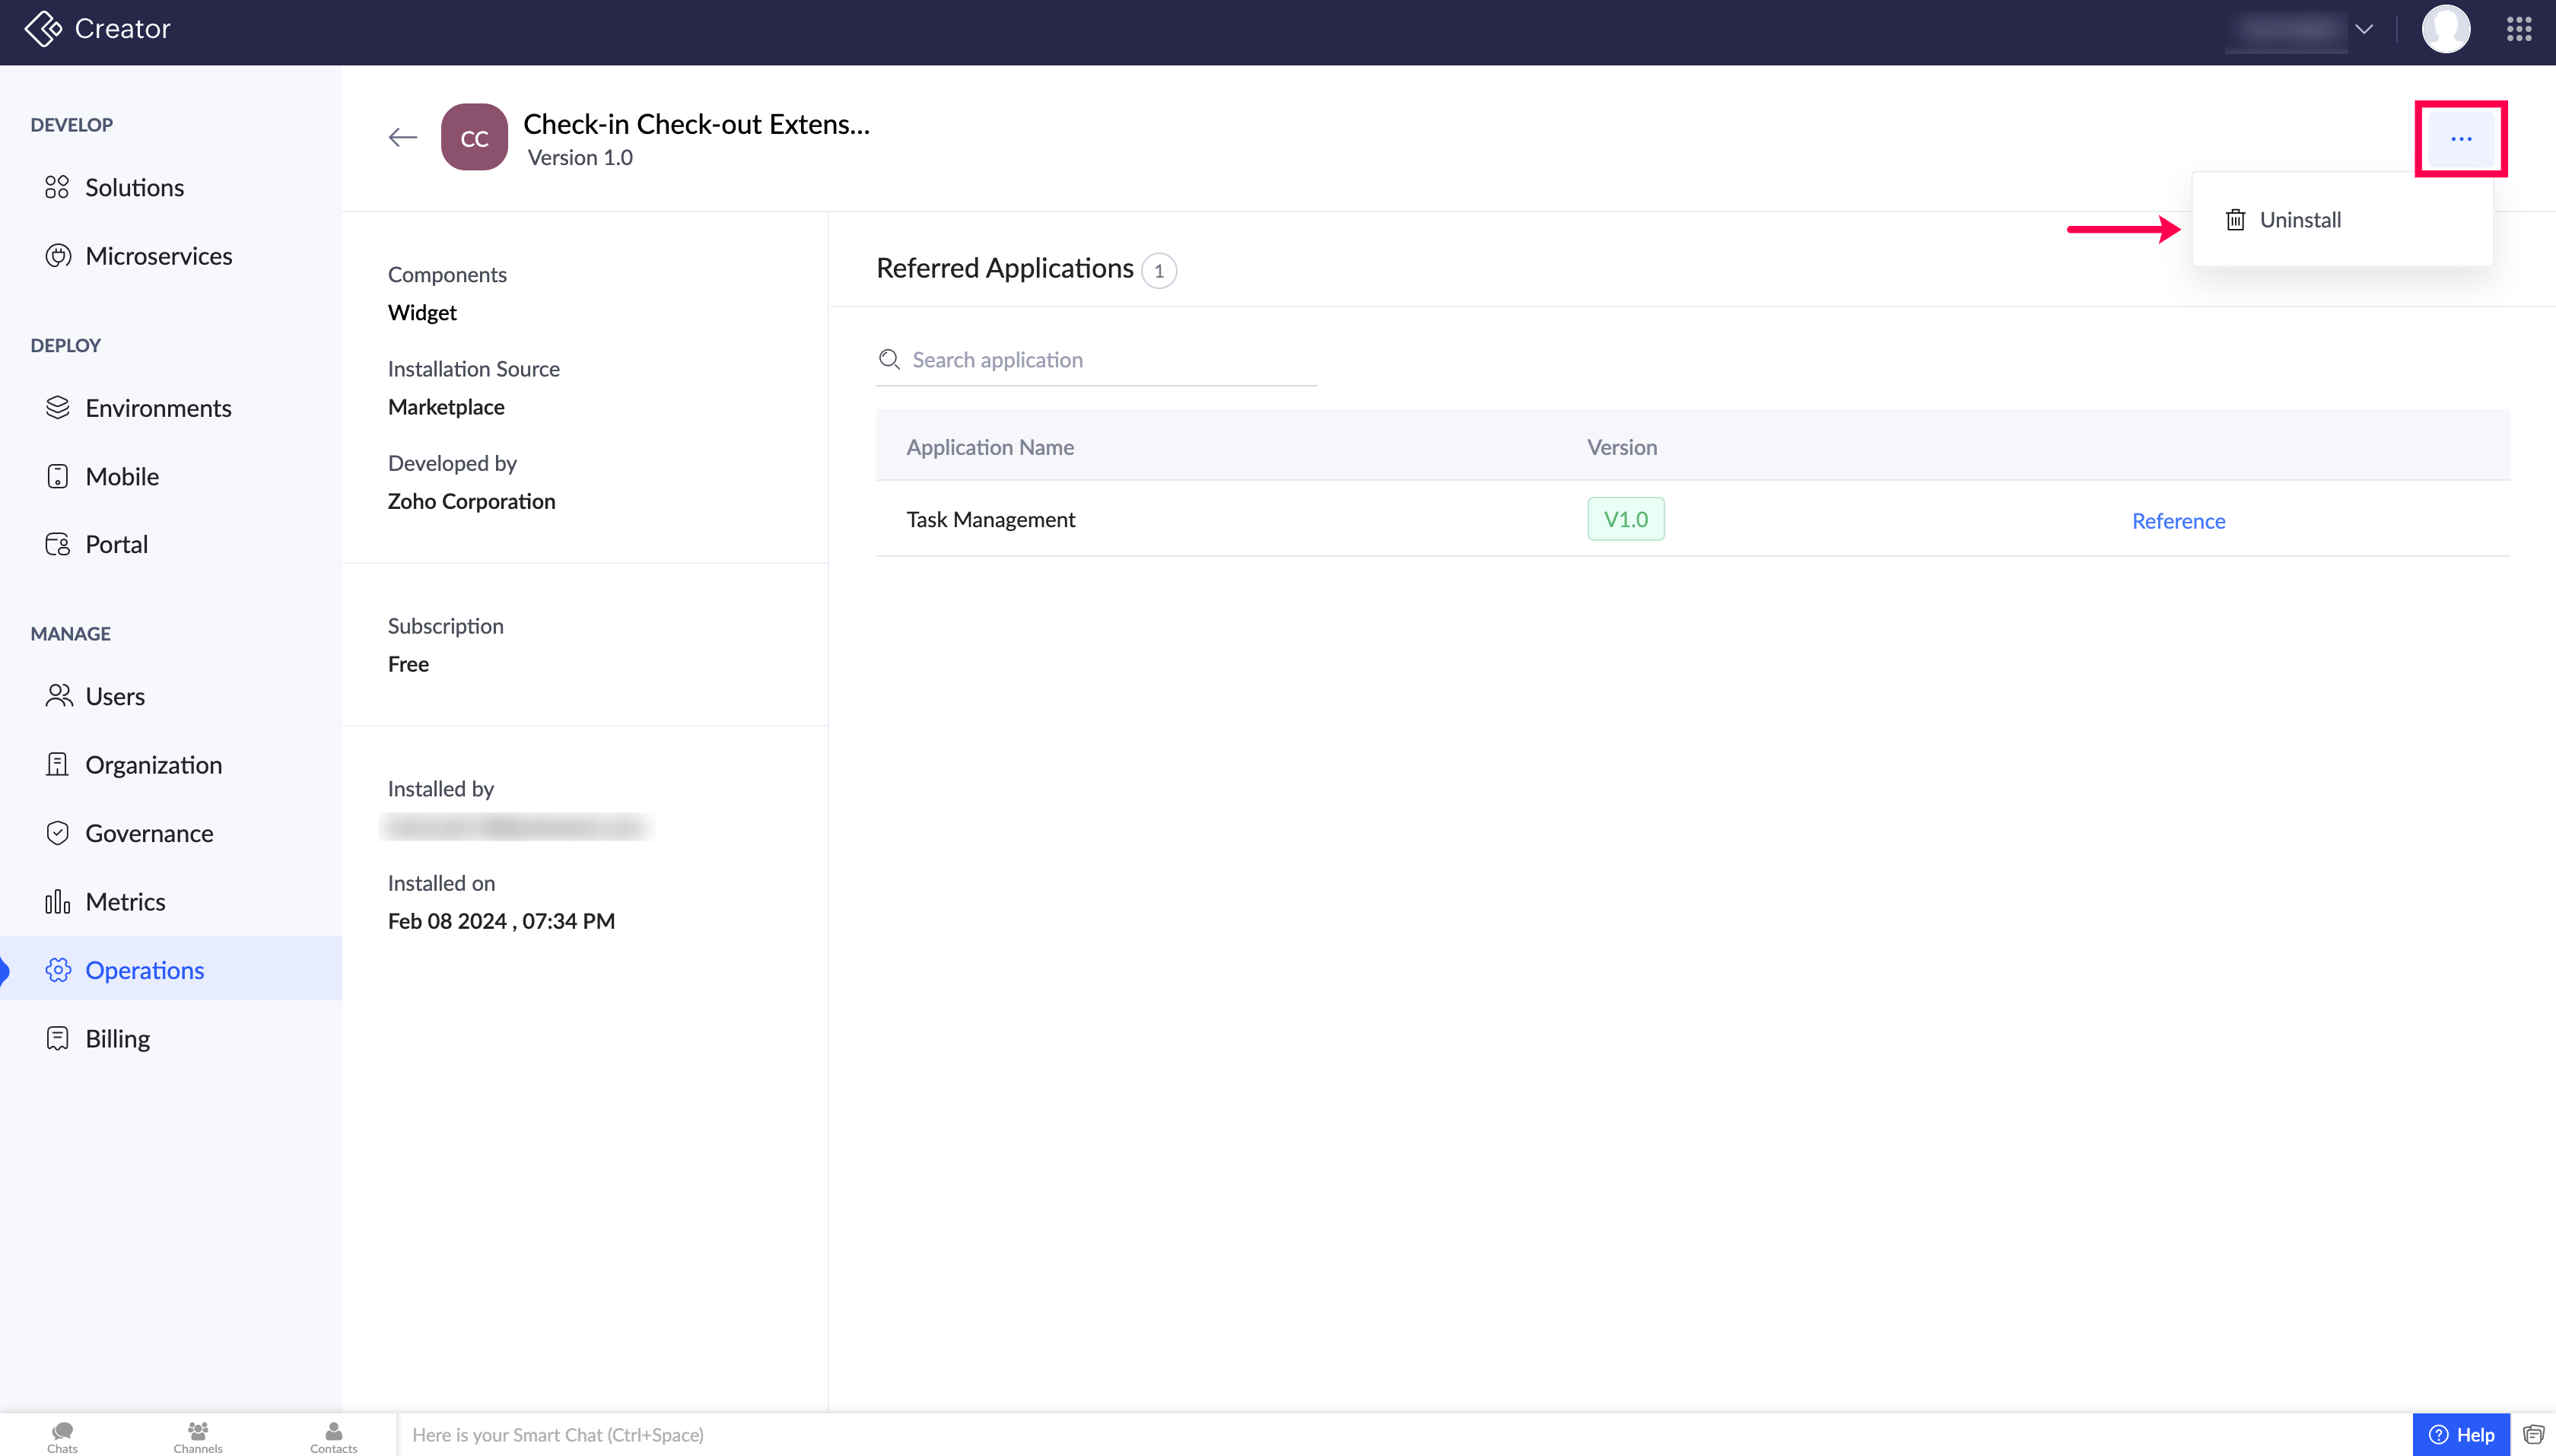
- Hover over the desired extension which you want to delete and click the horizontal ellipsis. Select Uninstall.
Note:
- If the extension is not used in any applications, it will be uninstalled immediately once you click Uninstall in the confirmation popup that appears.
- Otherwise, a popup with all references of the extension will be displayed.
- You must delete all the mentioned references to Proceed to Uninstall the extension.
Alternatively, you can uninstall the extension from the extension details page by clicking Uninstall in the horizontal ellipsis as shown.