Export data to Salesforce [BETA]
You can export your sales data from Zoho DataPrep to Salesforce using the Salesforce connector. With this connector, you can streamline your ETL workflows, enable smooth data movement, and simplify data integration between Salesforce and Zoho DataPrep.
To export data to Salesforce
1. Open an existing pipeline or create a pipeline from the Home Page, Pipelines tab, or Workspaces tab. You can bring your data from 50+sources.
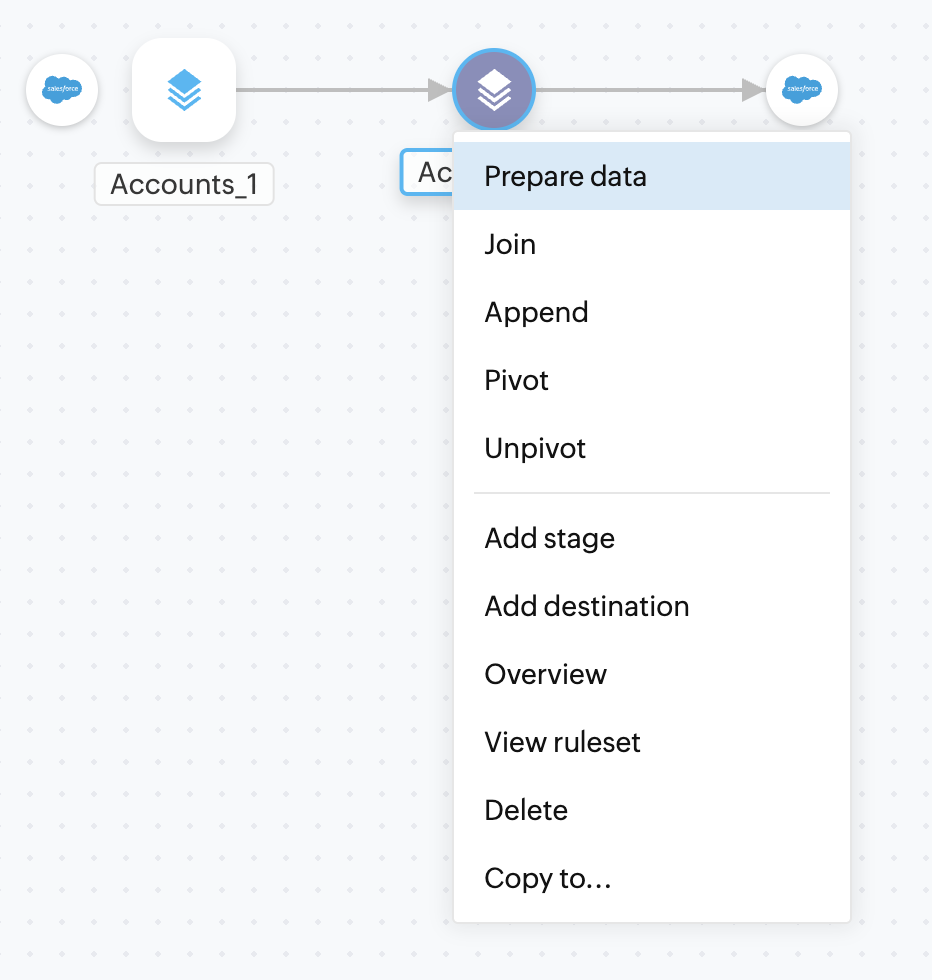
2. On the Pipeline Builder page, once you have completed creating your data flow and applying the necessary transforms in your stages, you can right-click a stage and select the Add Destination option.
3. You can search for Salesforce under the All destinations tab and click on it.
Note: If you had already added a Salesforce connection earlier, click the Saved connections category and proceed to export. To learn more about Saved connections, click here.
4. If you have already added a connection, click the existing connection and start exporting data.
Note: Click the Add new link to add a new Salesforce account. If you want to add more than one connection, make sure you log out of the existing Salesforce account in your browser and then try adding a new connection.
5. Authenticate your Salesforce account. You will need to authorize Zoho DataPrep to access your files when you do this for the first time.

Note: The connection configuration will be saved for exporting to Salesforce in the future. Credentials are securely encrypted and stored.
6. Choose the Module in Salesforce to which you want to export your data. You can export data to one of these modules in Salesforce.
7. Choose one of the following options to determine how to handle the data being exported to Salesforce:
- Add only new records: Using this option, you can only add newly imported records from Salesforce.
While using this option, make sure the stage you are exporting to Salesforce has no ID column.
- Only update existing records: Using this option, you can update the existing records in Salesforce that match the selected field (match based on field).
- Both add and update records: This option will update the records that match the selected field provided and insert those records that do not match the selected field value.
- Delete existing records: This action tracks records marked for removal in DataPrep and deletes the corresponding records in Salesforce to keep the platform updated. This action cannot be undone.Ensure that the stage configured with Salesforce as the destination includes an ID column, as records in Salesforce will be deleted when the ID matches.
8. Select a unique and mandatory field to match data from the Match based on field dropdown. Please make sure that the field is set mandatory and marked as no duplicate values in your Salesforce account.
9. When you choose to update existing records, you can also Skip emptying a field when updating existing records. This will avoid data loss when updating records if DataPrep has an empty field, whereas the Salesforce record already has data.
10. Save the destination configuration.
Check Target Matching
Navigate to the DataPrep Studio page of the stage where Salesforce is set as the destination.
Click the target matching icon  at the top right corner, and choose the Show target option. Ensure that target matching is completed to prevent export failure. Click here to know more about target matching.
Now, after checking the target matching, you may want to try executing your pipeline using a manual run at first. Once you make sure the manual run works, you can then set up a schedule to automate the pipeline. Learn about the different types of runs here.

Info: Each run is saved as a job. When a pipeline run is executed, the data fetched from your data sources will be prepared using the series of transforms you have applied in each of the stages, and then the data will be exported to your destination. This complete process is captured in the Jobs page.
11. If the manual run succeeds without any errors, your data will be exported successfully. If the manual run fails, throwing the below target match error, you can fix it by completing the target matching steps.
Target matching is a useful feature in DataPrep that prevents export failures caused by errors resulting from data model mismatches.
Target matching during export to Salesforce
Target matching happens before the data is exported to the destination. Target matching is a useful feature in DataPrep that prevents export failures caused by errors resulting from data model mismatches. Using target matching, you can set the required Salesforce module as the target and align the source data columns to match your target. This ensures seamless export of high-quality data to Salesforce.
Note: Target matching failure is not an export failure. Target matching happens before the data is exported to the destination. This way, the schema or data model errors that could cause export to fail are caught beforehand, preventing export failures.
When the target match check fails
1. If the target match check fails during export, you can go to the DataPrep Studio page, click the target matching icon  at the top right corner, and choose the Show target option. The target's data model is displayed above the existing source data. The columns in the source are automatically aligned to match the columns in the target, if found.
Target matching displays the different icons and suggestions on the matched and unmatched columns. You can click on these suggestions to quickly make changes to match the existing column with the target column. To make it easier for you to fix the errors, the target module in your Salesforce is attached as a target to your data. You can view the mapping of your data with the table in the DataPrep Studio page, along with the errors wherever there is a mismatch. You can hover over the error icons to understand the issue and click on them to resolve each error.
Note: All columns are displayed in the grid by default. However, you can filter out the required option by clicking the All columns link.
2. Click the View summary link to view the summary of the target match errors. The summary shows the different model match errors and the number of columns associated with each error. You can click on the required error columns and click Apply to filter out specific error columns.
Target match error summary
- The Target match errors section shows the errors and the number of columns associated with each error.
- The section at the top lists the error categories along with the number of errors in each category.
- You can click them to filter errors related to each category in the panel.
- In the default view, all columns are displayed. However, you can click any error category and get a closer look at the columns or view the error columns alone by selecting the Show only errors checkbox.
- Your filter selection in the Target match error summary will also be applied to the grid in the DataPrep Studio page.
Target matching errors
The errors in target matching are explained below:
- Unmatched columns: This option shows all the unmatched columns in the source and target.Note:
- The non-mandatory columns in the target can either be matched with a source column if available or ignored.
- If you have imported the source data from any source other than Salesforce, the additional columns present in the source will not be included during export by default. However, you can rename and match those columns if you want to include them.
- If you have imported the source data from Salesforce, the columns in the source that are missing in the target need to be matched or removed to proceed with exporting. However, the additional columns (system-generated) columns will be ignored during the export.
When using the unmatched columns option, you can toggle the Show only mandatory columns option to see if there are any mandatory columns (set as mandatory in the target) and include them. You can also fix only the mandatory columns and proceed to exporting.
- Data type mismatch: This option displays the columns from the source having data types that do not match the columns in the target.
- Data format mismatch: This option displays columns from the source having date, datetime, and time formats that differ from those in the target.
- Constraint mismatch: This option displays the columns that do not match the data type constraints of the columns in the target. To know how to add constraints for a column, click here.
- Mandatory column mismatch: This option displays the columns that are set as mandatory in the target but not set as mandatory in your source.Note: The mandatory columns cannot be exported to the destination unless they are matched and set as mandatory. You can click the
icon above the column to set it as mandatory. You can also use the Set as mandatory (not null) check box under the Change data type transform to set a column as mandatory.
- Data size overflow warnings: This option filters the columns with data exceeding the maximum size allowed in the target.
3. After fixing the errors, you can go to the Pipeline builder page and run your pipeline to export your data. Once you make sure the manual run works, you can then set up a schedule to automate the pipeline. Learn about the different types of runs here
4. In case of partial export failures, you may choose to undo or cancel the changes made to Salesforce using the Rollback now feature. You can roll back even a successful export if you want to. Learn more about rollback in the next section.
Rollback export
You can undo or cancel the changes made to your Salesforce module in case of partial export failures using the Rollback feature. Rollback will help you delete the inserted records, undo changes in the updated records, and restore the deleted records in your Salesforce module. Here's a quick video on Rollback export.
To Rollback
In case of partial export failures, you may choose to undo or cancel the changes made to Salesforce using the Rollback now feature. You can roll back even a successful export if you want to.
1. Click the Rollback now link in the Output tab to rollback the export immediately.
2. Review the rollback details and click Rollback in the confirmation dialog.
3. The rollback progress is shown. Please do not perform any other action while the rollback is in progress. The rollback process cannot be reverted once started.
Important:
1. You can rollback only the latest export, i.e., the Rollback data sync link will be visible only for the most recent export that was carried out using the processed data.
2. The rollback process cannot be reverted once started. Please do not perform any other action while the rollback is in progress.
Limitations
1. You can use only the unique and mandatory columns under the Match based on field to match data during export.
2. You can export a maximum of 50,000 (50K) records at a time.
3. Zoho DataPrep does not support workflow triggers in Salesforce.
SEE ALSO