My Space

This page is applicable for Bookings 2.0 version only.
1. In a nutshell
My Space is your personal space where you can manage and view all your appointments, profile details, event types, and booking pages, consolidated from all the workspaces you're associated with. It serves as a one-stop hub to access all key information relevant to you. As the default home page, it's the first place users will see upon logging in, providing quick and easy access to everything you need.
2. Feature availability

- Available for all plans.
- All users can access My Space
3. Overview
My Space provides all the crucial information you need on a daily basis in your scheduling routine. It shows all the appointments of a user by consolidating from all the workspaces that they are assigned to.
It provides the below key details:
- Appointments - Shows all your appointments from all your assigned workspaces
- Event Types - Shows event types that you are assigned from all workspaces
- Booking Pages -Shows your booking page link and all other related booking links
- My Profile - Allows you to view and edit your profile and set availability
4. Steps to access My Space
- Sign in to your Zoho Bookings account. You can see the My Space option in the top-left corner, which means you are already viewing the My Space page.
 Info: Super admins, admins, workspace admins, and managers can switch to other workspaces by clicking My Space. Staff can only access the My Space option.
 - Click the Appointments tab to view the list of appointments that you are scheduled.
- Click the Event types tab to view the list of event types assigned for you.
- Click the Booking Pages tab to view the various booking page links.
The first section shows your exclusive booking page. - Open Page - This opens your booking page in a new tab.
- Share - Upon clicking this option, a share pop-up appears from which you can share your booking page in multiple ways.
- Themes and Layouts - This option allows you to customize the appearance of your booking page. Learn more.Under the first section, you can view three tabs - Event type, Workspace, and User. Click the respective tab to get the booking links.
5. Pin a workspace
You can pin one workspace to set it as your default workspace. Once pinned, it will always appear at the top of your workspace list for quicker access.
When a workspace is pinned, it becomes your default landing page in Zoho Bookings. This means Zoho Bookings will automatically open the pinned workspace each time you access the application.
6. View or edit your profile
The My Profile option under My Space lets you view or edit your profile information.

Note: Edit permission for the Staff role depends on the option chosen under Roles and Permissions.
To edit your profile:
- Click the Details tab under My Profile.
- Click the Edit button on the right.Info: Email address, Role, Status, Workspace can be edited only by admins and workspace admins.
- Edit the required information.
- Click the profile picture to upload your picture and adjust it by zooming the mouse in and out.Info: Image must be less than 5 MB with height and width of 60px by 60px.
- Role - Denotes the user role in Bookings.
- Designation - Denotes the user's official title at the organization. This can be used to be displayed on the booking page.
- Status - Allows admins to mark the user is active or inactive. If you've been marked inactive, you can contact your admin and ask them to change your status to active.
- Workspaces - It shows the list of workspaces assigned.
- Additional Information - Personal description can be added, which will be shown on the booking page.
- Click Save.
7. Availability
The Availability section allows you to view and manage the times when you are available for appointments. It includes the following sections:
- Default hours
- Custom schedules
- Date overrides
7.1 Default hours
This is your usual opening hours for a week. By default, all users will follow the working hours of the business. However, each user can have their own working hours.
Info: Editing their own working hours can be done by super admin, admin, and workspace admin. Additionally, staff can edit it if permission is enabled under Roles and Permissions.
To customize your default hours:
- Click Customize in the Default Hours section.
- Modify the hours of the week.
- You can select or deselect the checkbox to include or remove the day, respectively.
- You can change the hours for a single day and select Apply to All to have it reflected for all days.
- You can add the break time/lunch time, select the + icon and edit the available hours. For example, 9am - 1pm and 2pm - 6pm.
- Select the required time zone if you are working in a different time zone than the business.
- Click Save. The customized default hours will be added. It can be edited later.
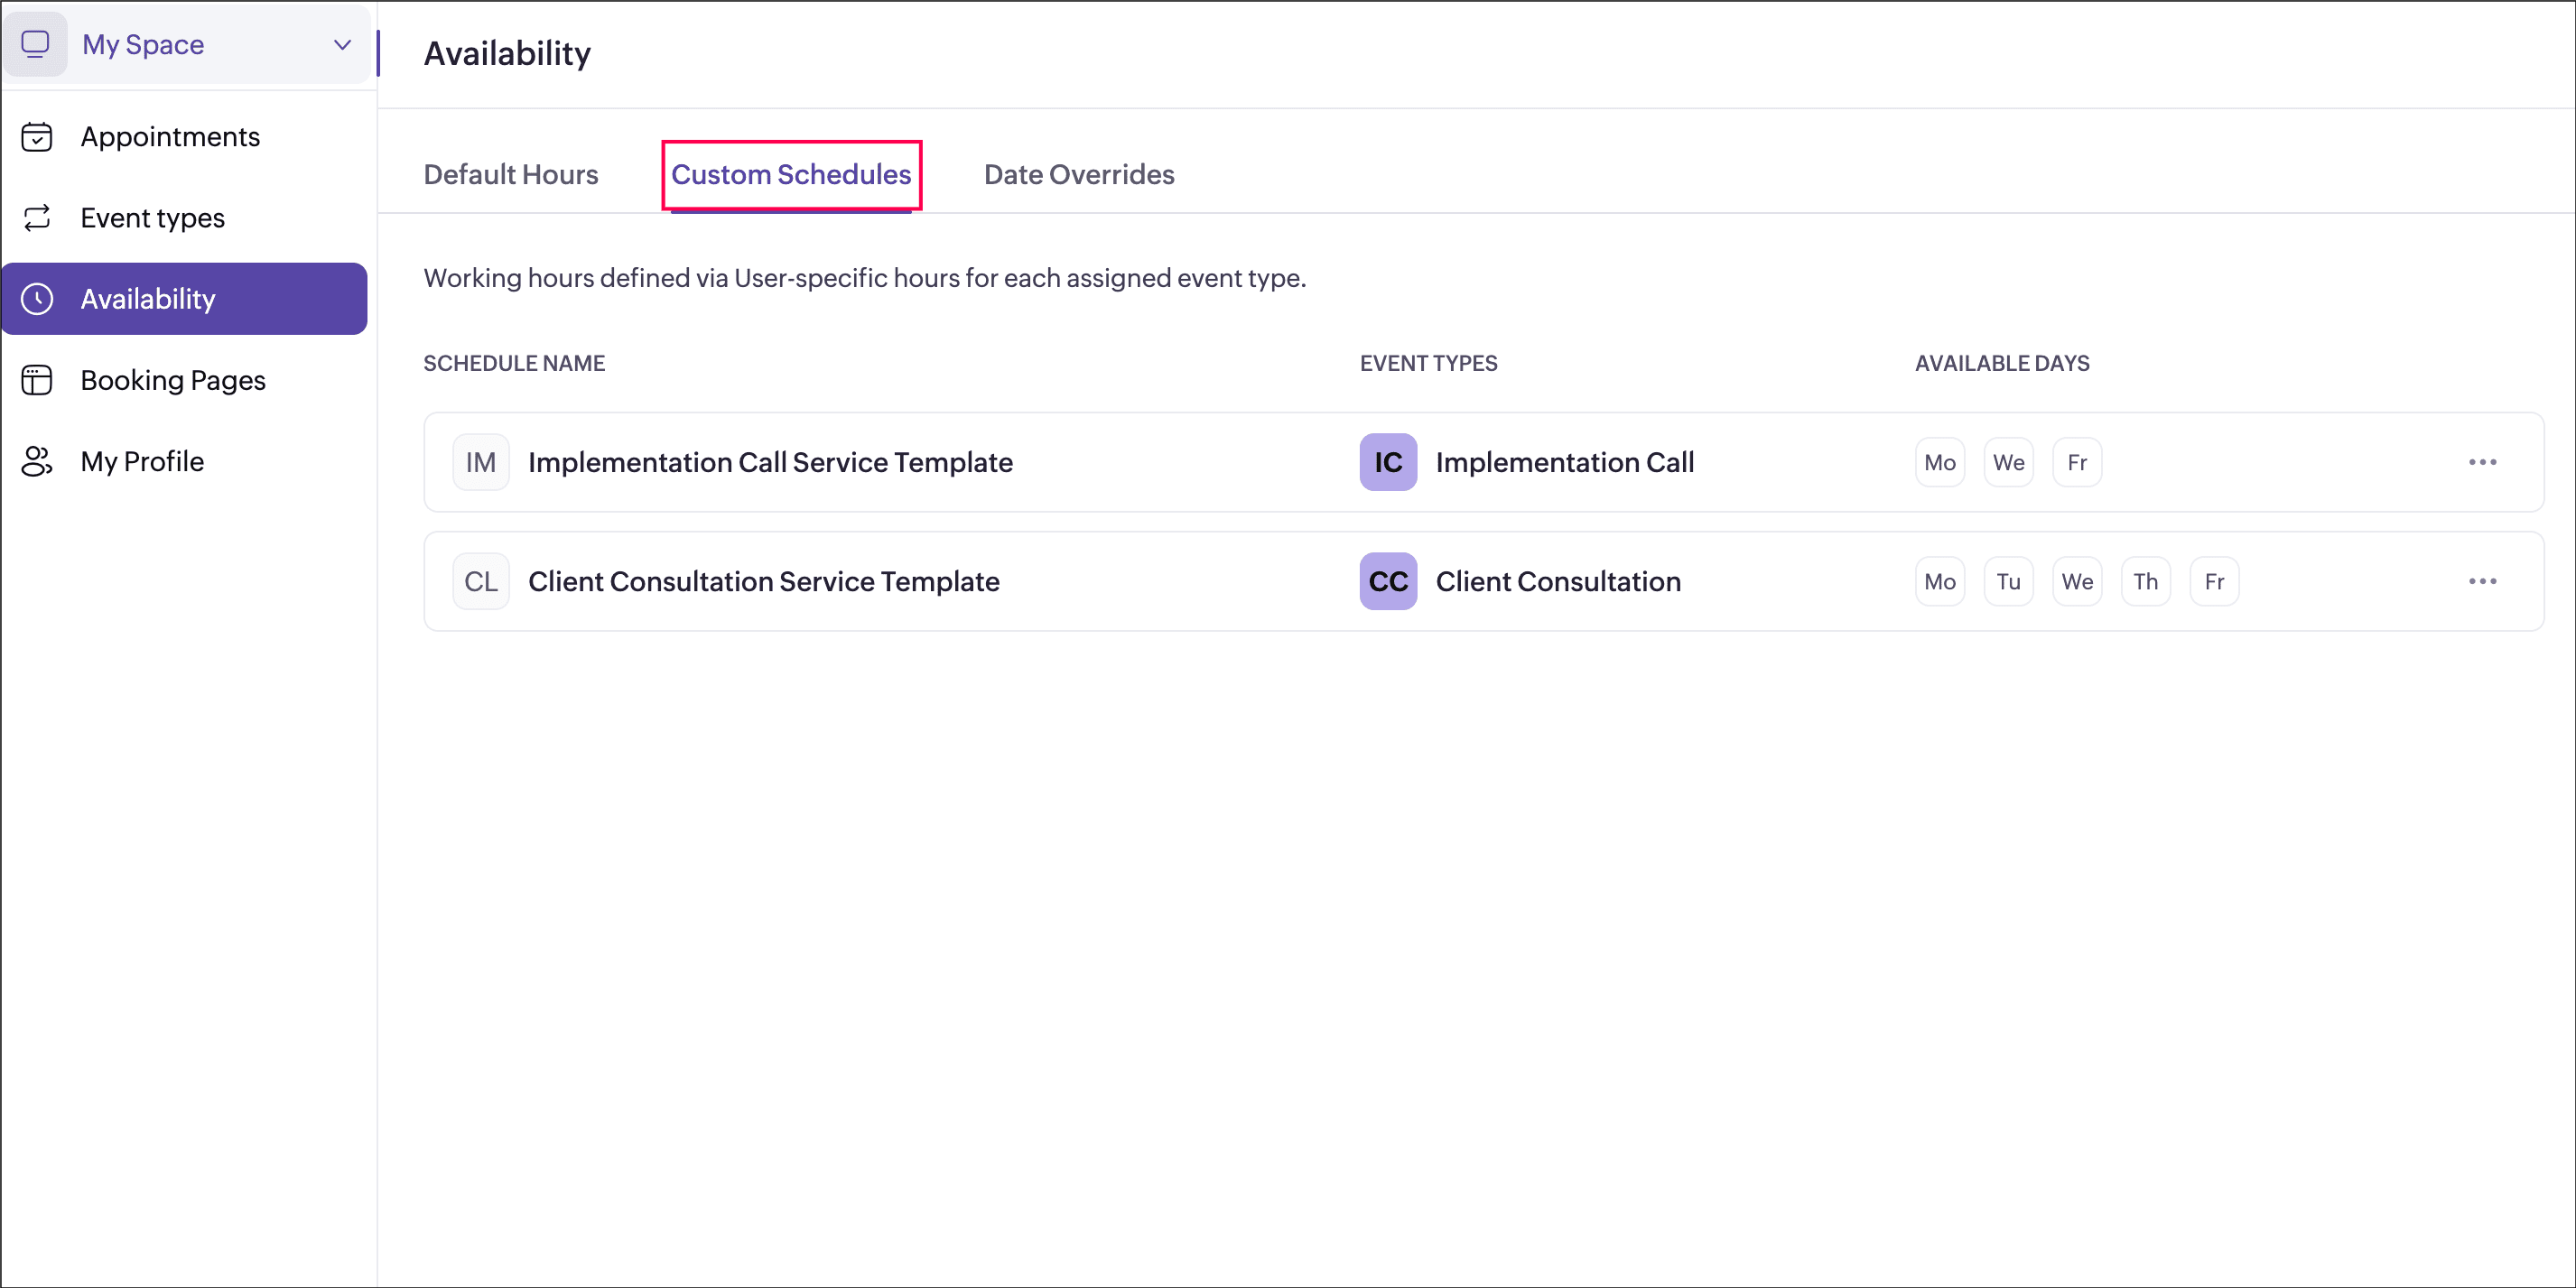
7.2 Custom schedules
This section shows the working hours that apply to you through user-specific hours set at the event types that you are assigned with. You can only view which schedules you are following for different event types and understand how your availability is calculated for each one.
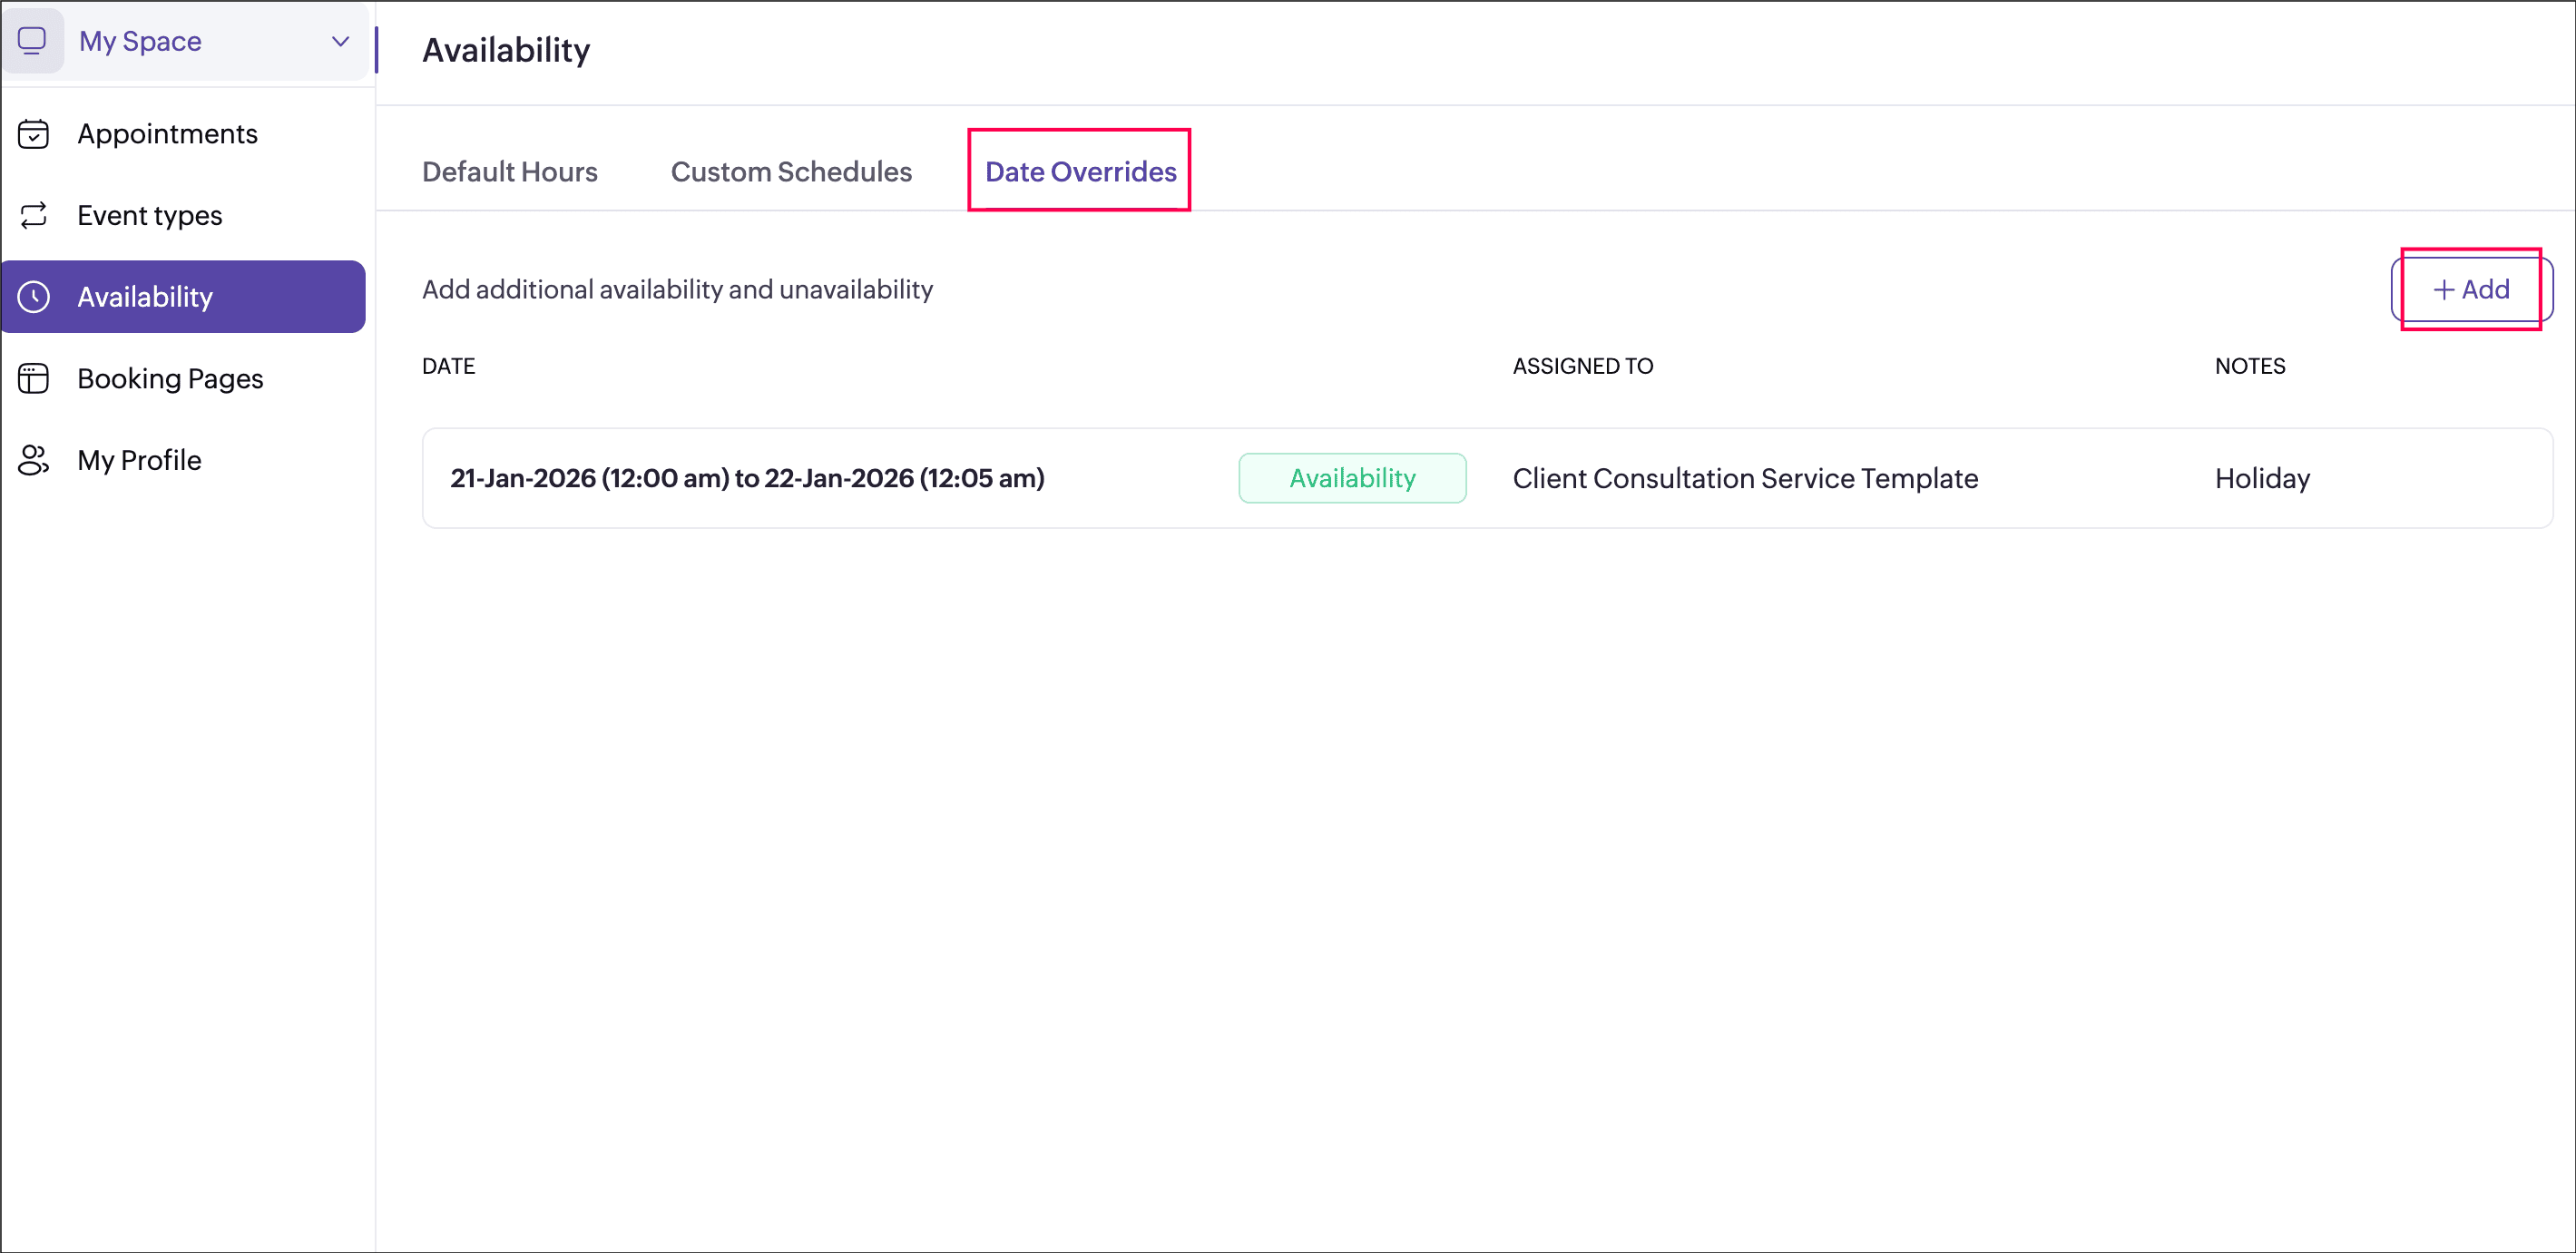
7.3 Date overrides
Use Date Overrides to add availability temporarily or block time for specific dates or date ranges. This is useful for handling holidays, extended working hours, or other one-time changes to your availability.